Create a Twake Workplace account
Overview
With a personal Twake Workplace account, you can:
- Communicate instantly with individuals or teams through messages and channels
- Manage emails directly within the platform
- Store, share, and collaborate on files securely
The sign-up process enables new users to quickly create an account, providing a simple and secure way to get started. Once registered, users can access all features and begin collaborating in one seamless environment.
This guide will walk you through the steps to create your account and start using Twake Workplace.
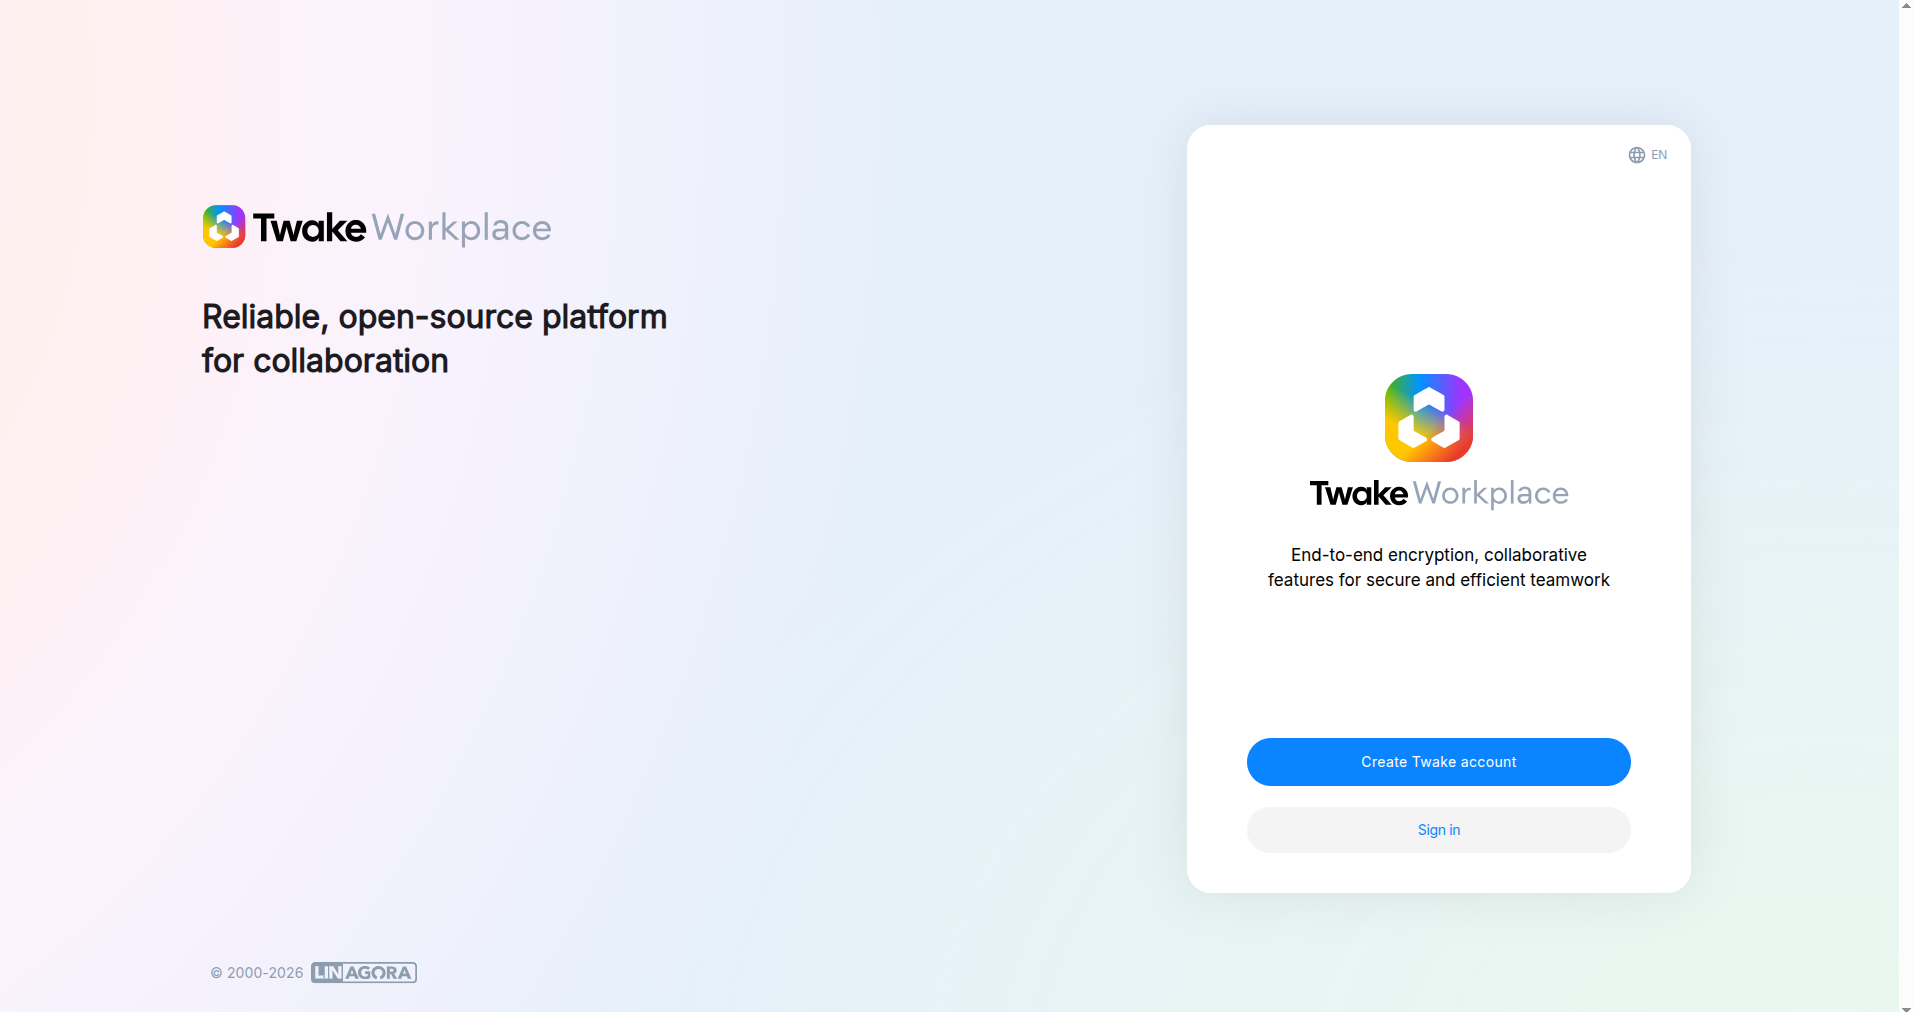
Step 1: Go to the Sign-Up Page
- Visit: Twake homepage
- Click “Sign up” button, a new screen is opened
- Click "Create Twake account" button
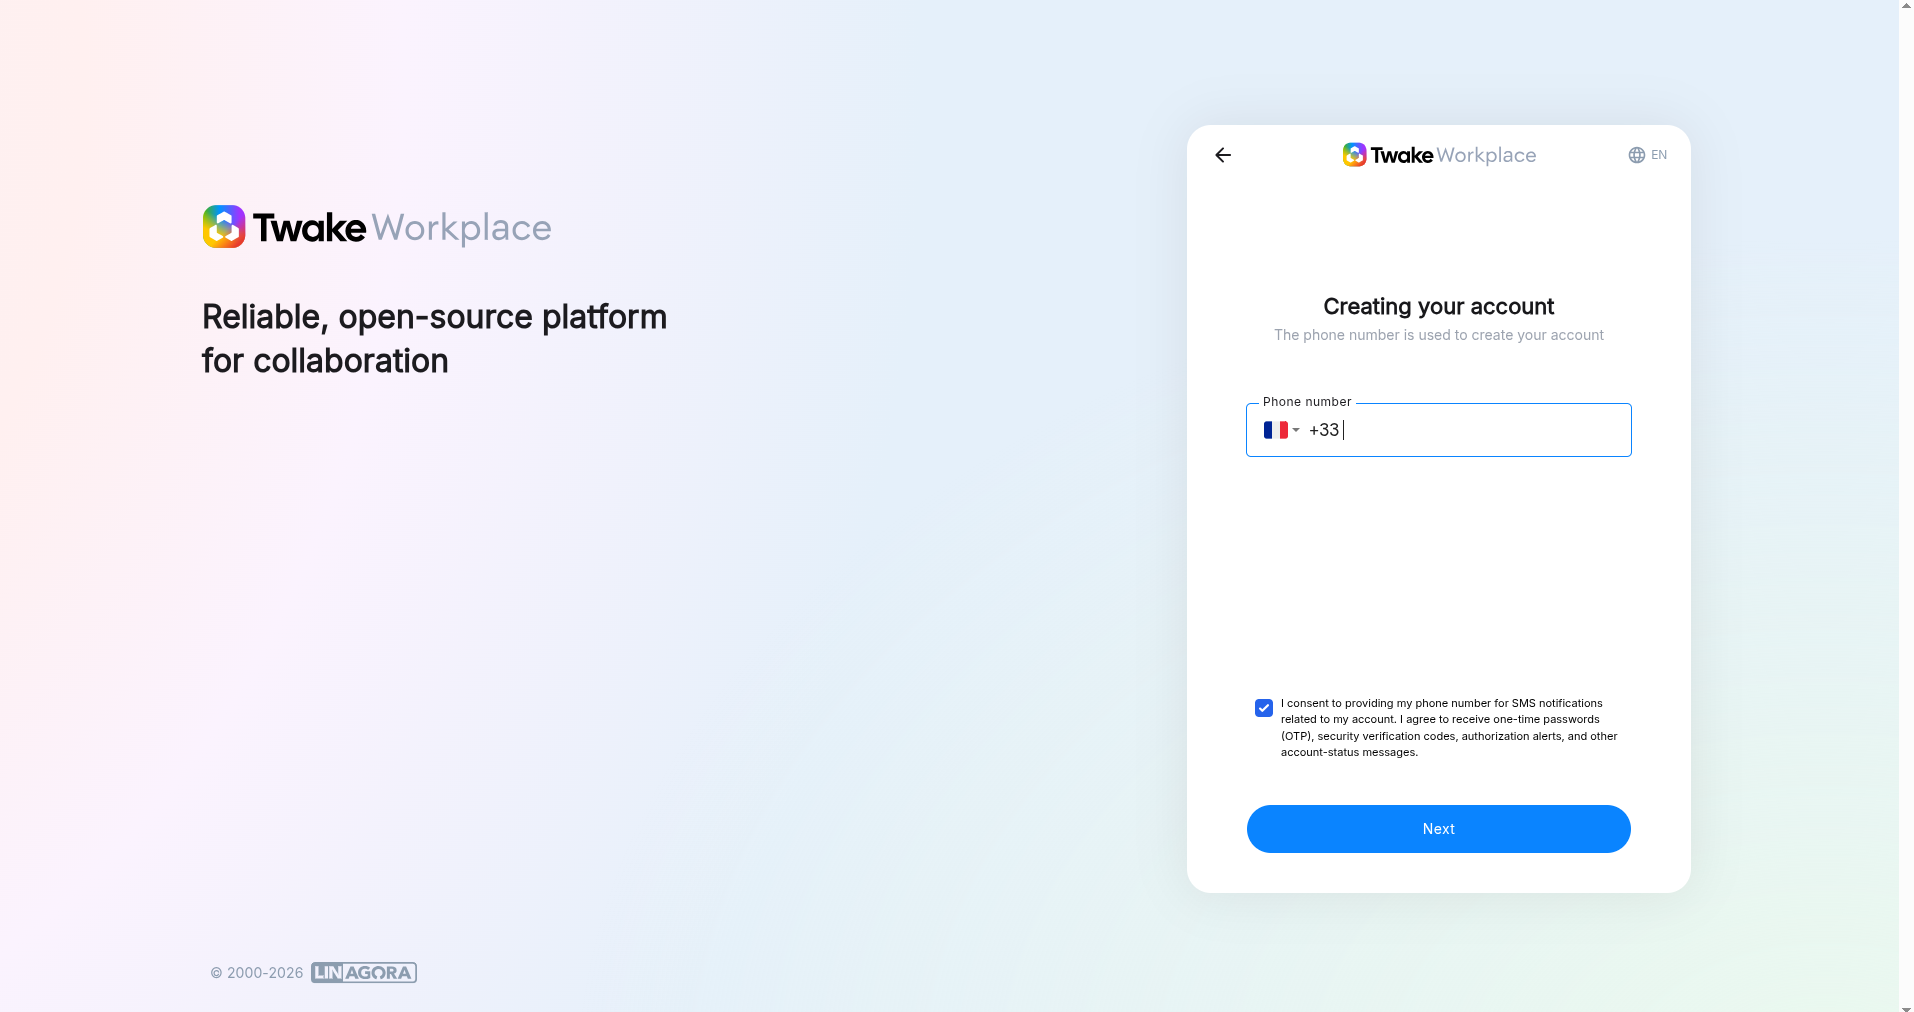
Step 2: Verify Your Phone Number
- Select your country code
- Enter your phone number
- Check the box to agree to receive SMS notifications
- Click “Next”
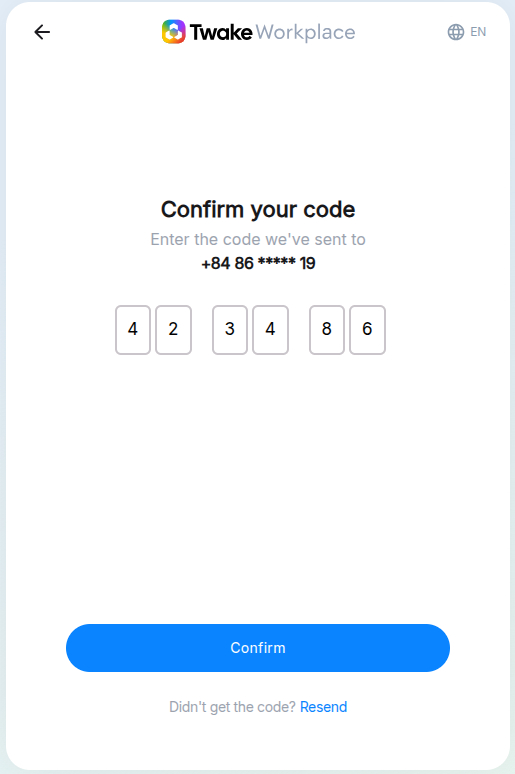
- Check your phone for the SMS verification code and enter the 6-digit code into the input boxes. If you don’t receive the code, wait for the timer and tap “Resend”
- Click “Confirm”
Step 3: Enter Your Personal Information
- Enter your First name and Last name
- Check the box to agree to the Terms of Use and Privacy Policy
- Click “Next”
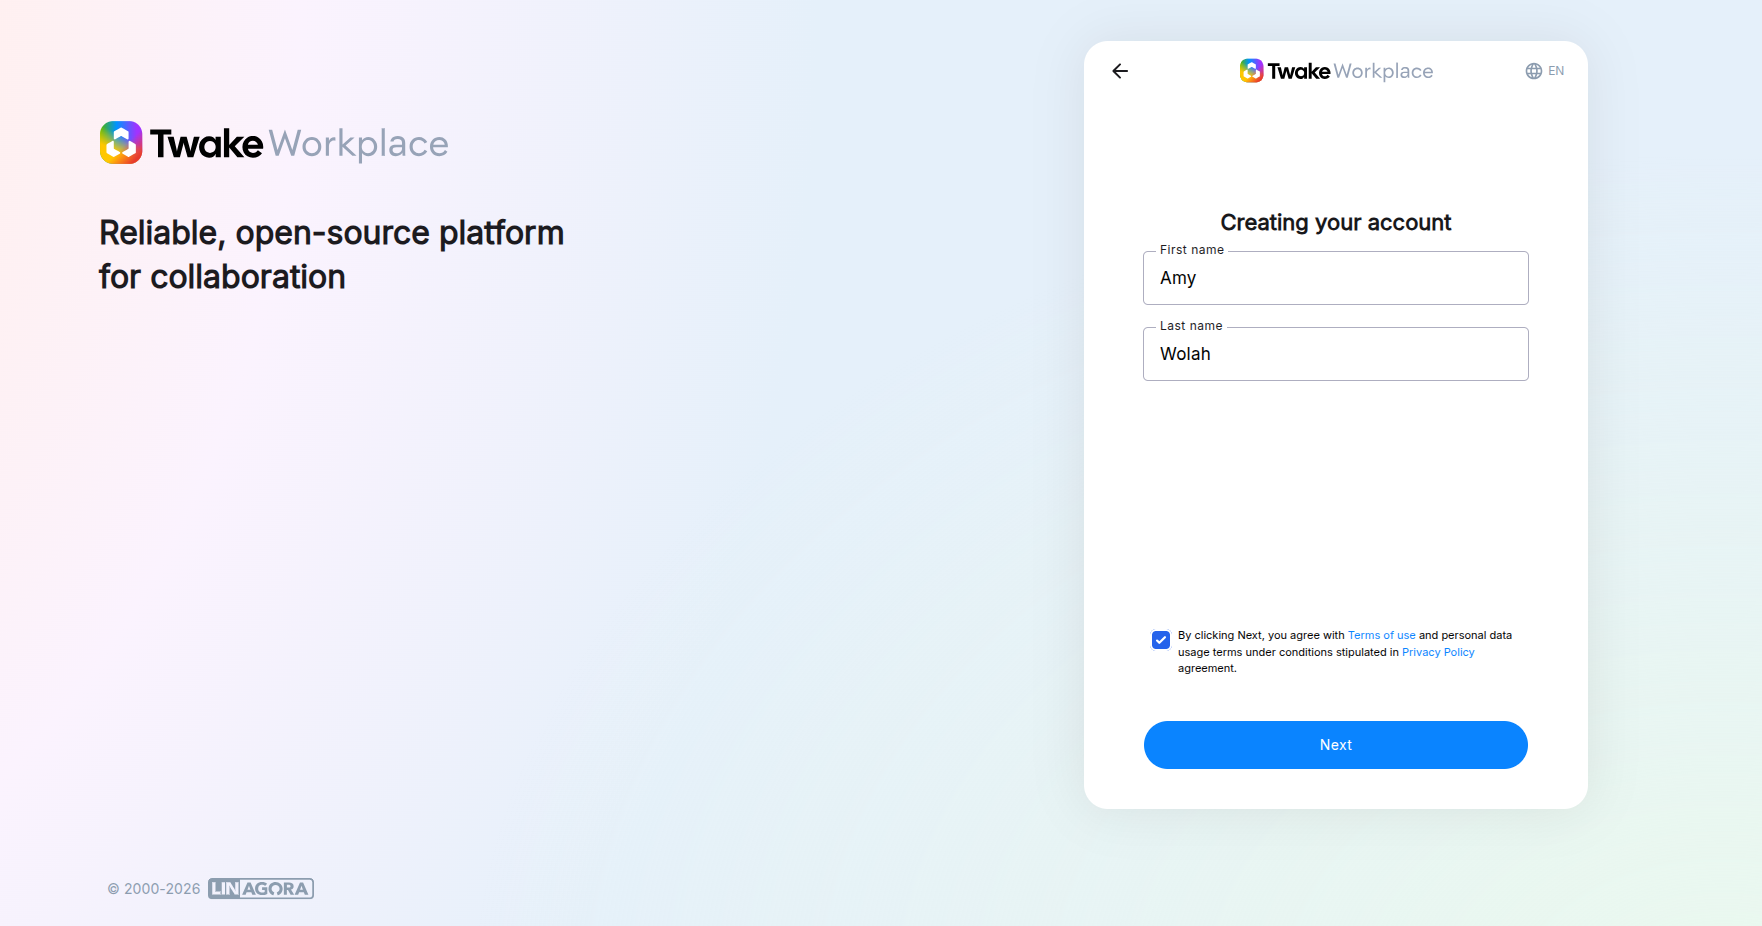
Step 4: Create Your Email Address and Username
- Choose one of the suggested email addresses or Enter your own username to create a custom email address
- Click “Next”
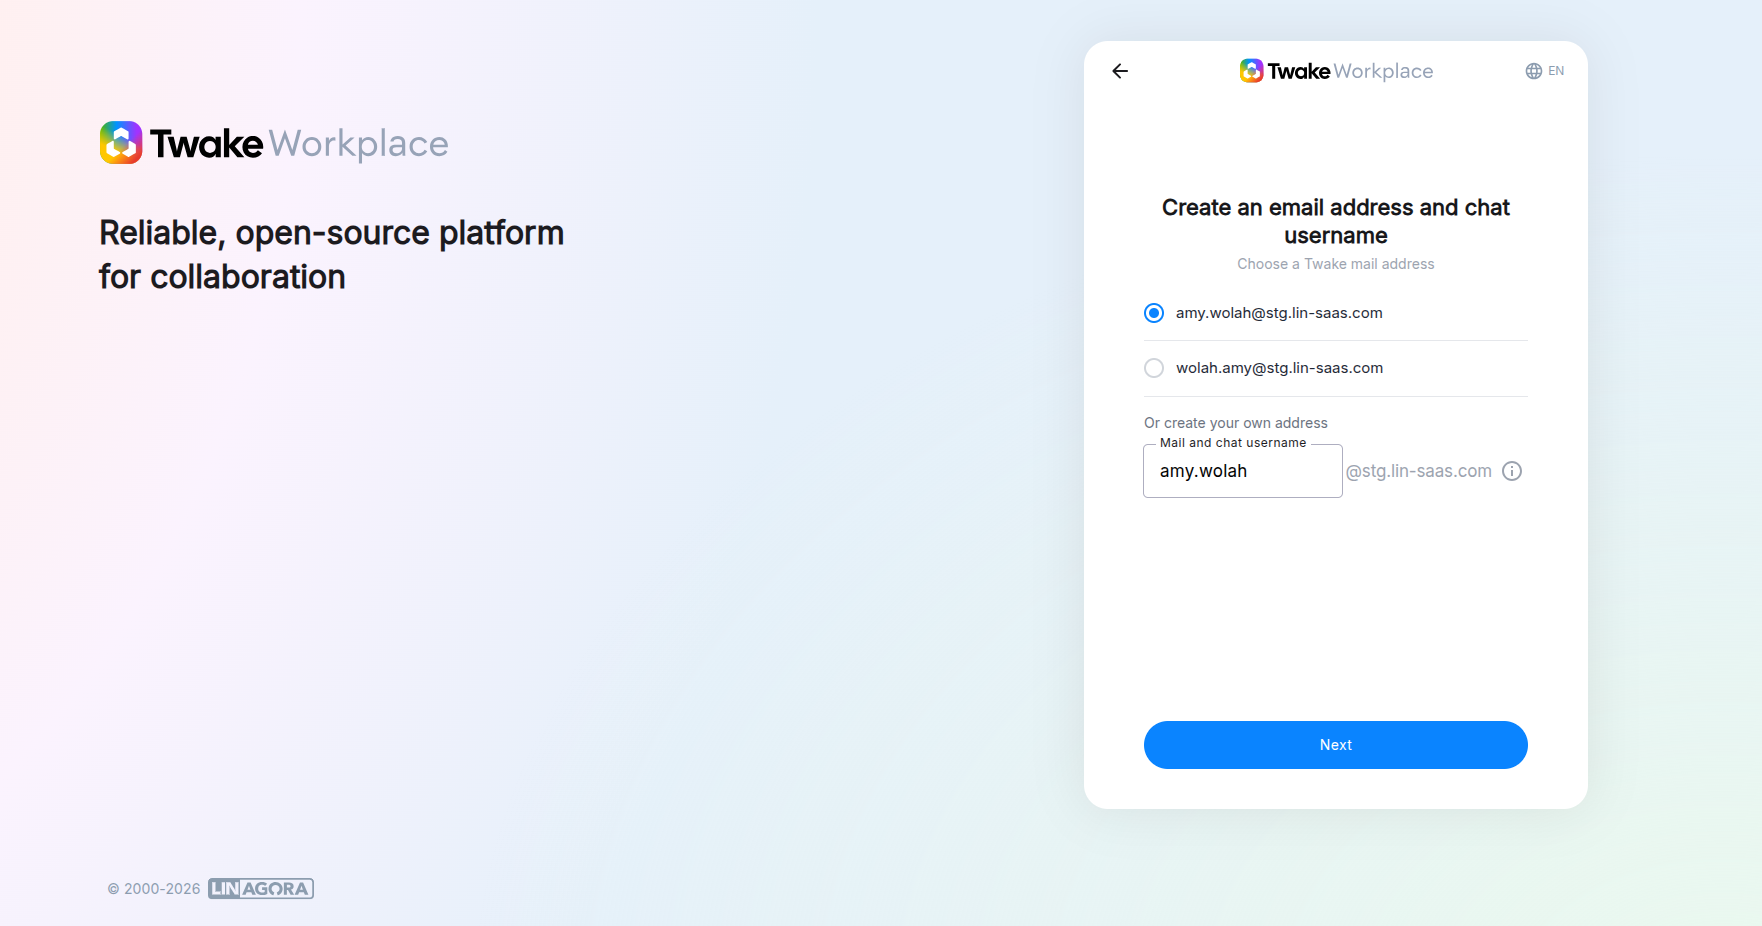
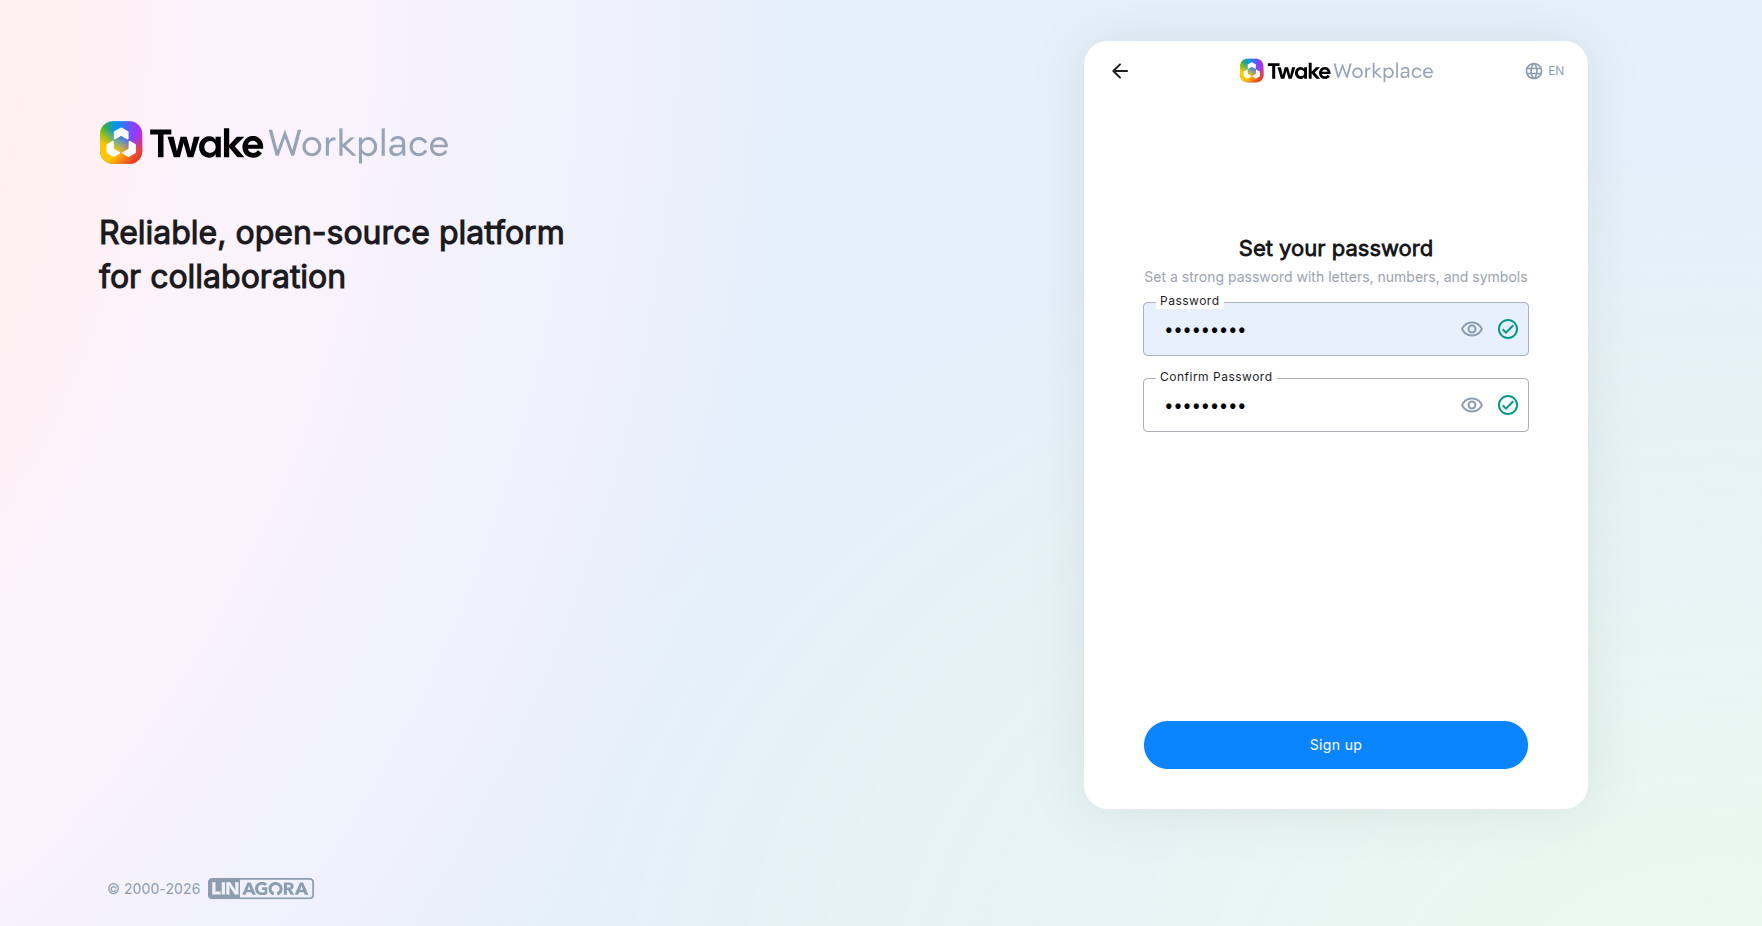
Step 5: Set Your Password
- Enter your Password. It must be at least 8 characters long and contain an uppercase letter, a lowercase letter, and a number.
- Re-enter it in Confirm Password
- Click “Sign up”
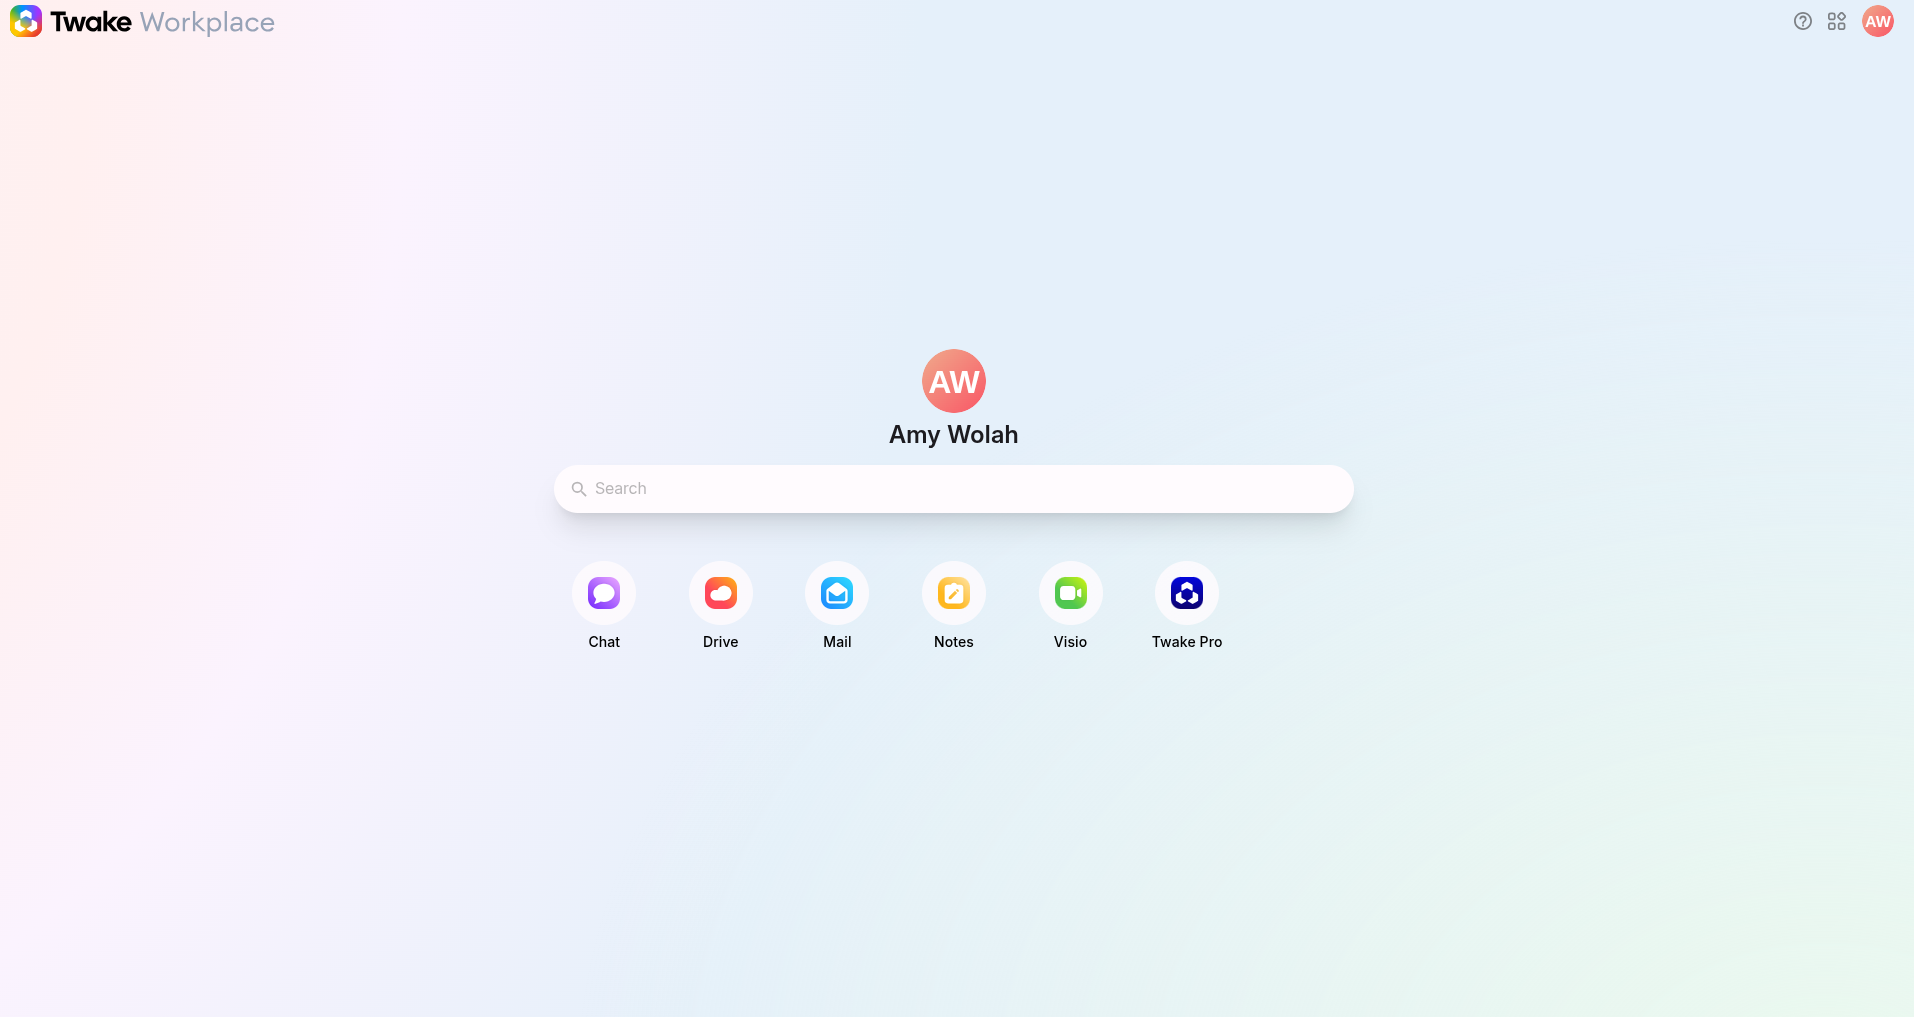
All set! After signing up, you’ll be redirected to your Twake workspace dashboard, where you can start using all features. This screen includes:
- Your profile name and avatar
- A search bar to find content
- Quick access to apps: Chat, Drive, Mail, Notes...