Configure second-factor authentication (2FA)
Second-factor authentication adds an extra layer of security to your account by requiring a verification code in addition to your password.
How to enable Two-Factor Authentication
- Sign-in to your Twake account
- Click the settings menu (your profile icon, top right).
- Click Manage profile
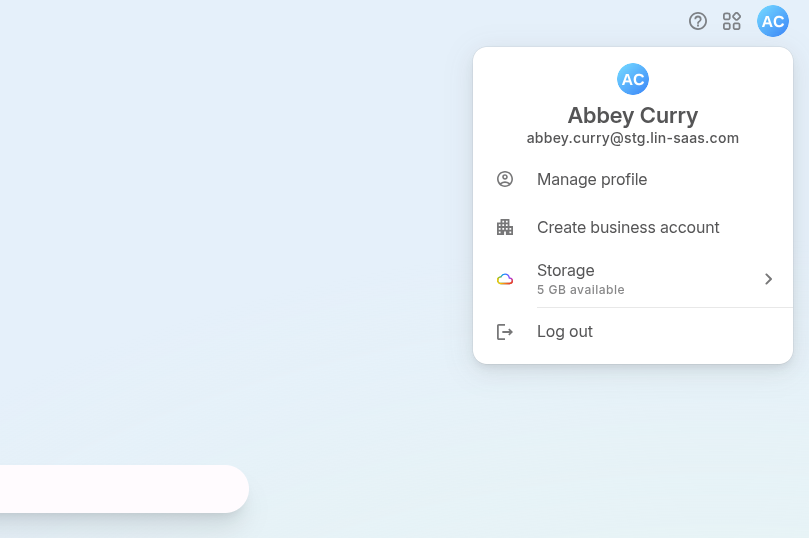
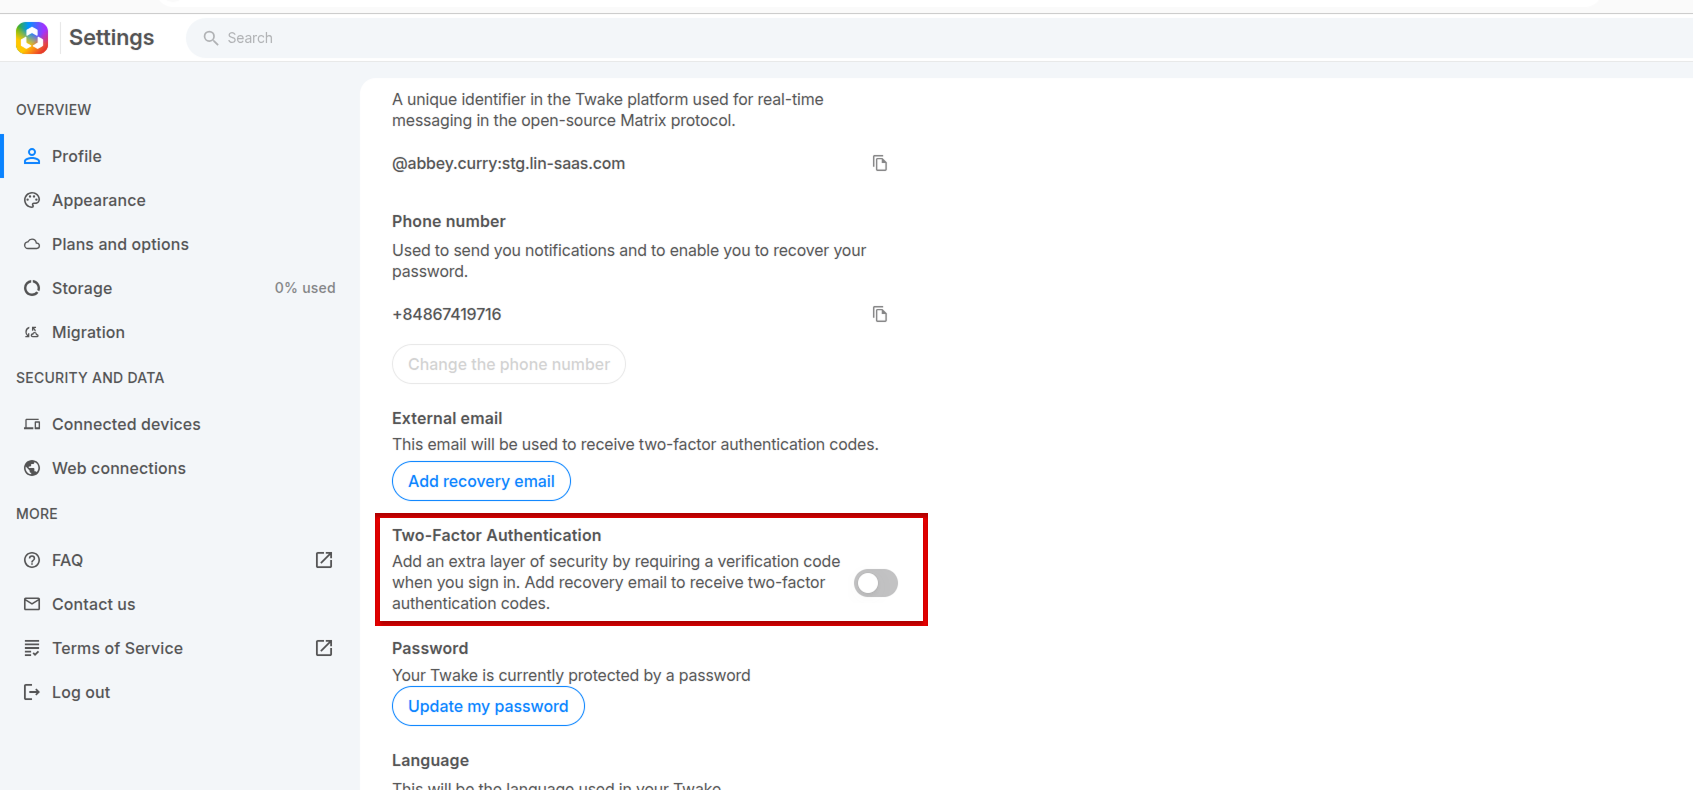
- On the Profile page: Find the Two-Factor Authentication (2FA) option and turn on the 2FA toggle
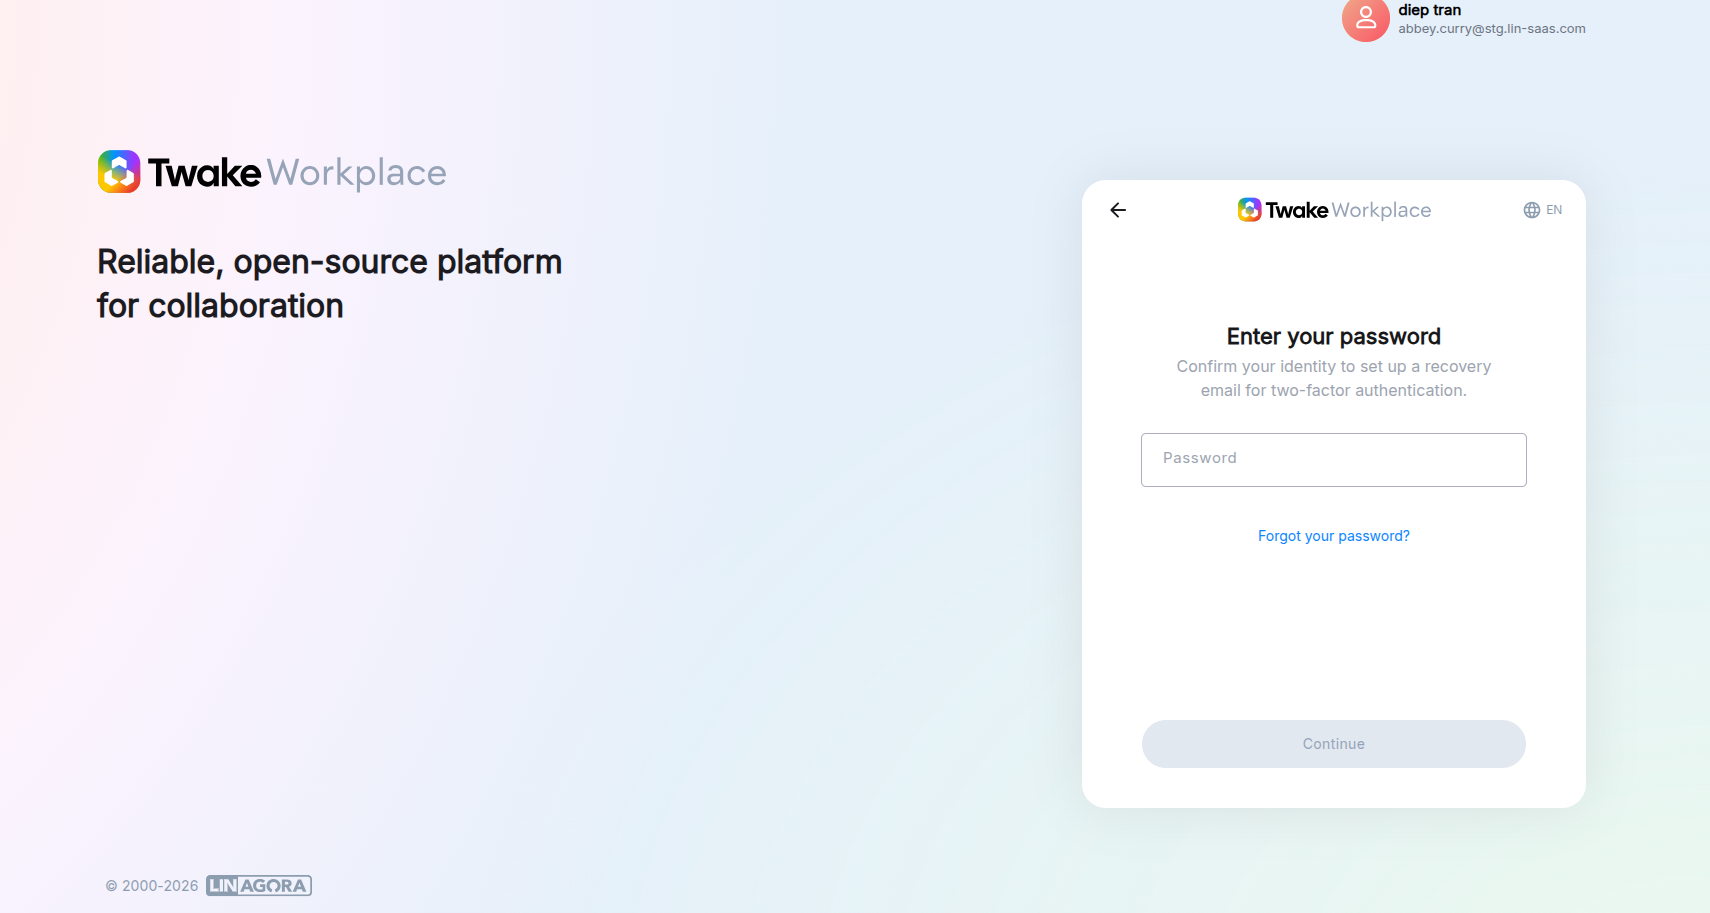
- You need to confirm your password to continue:
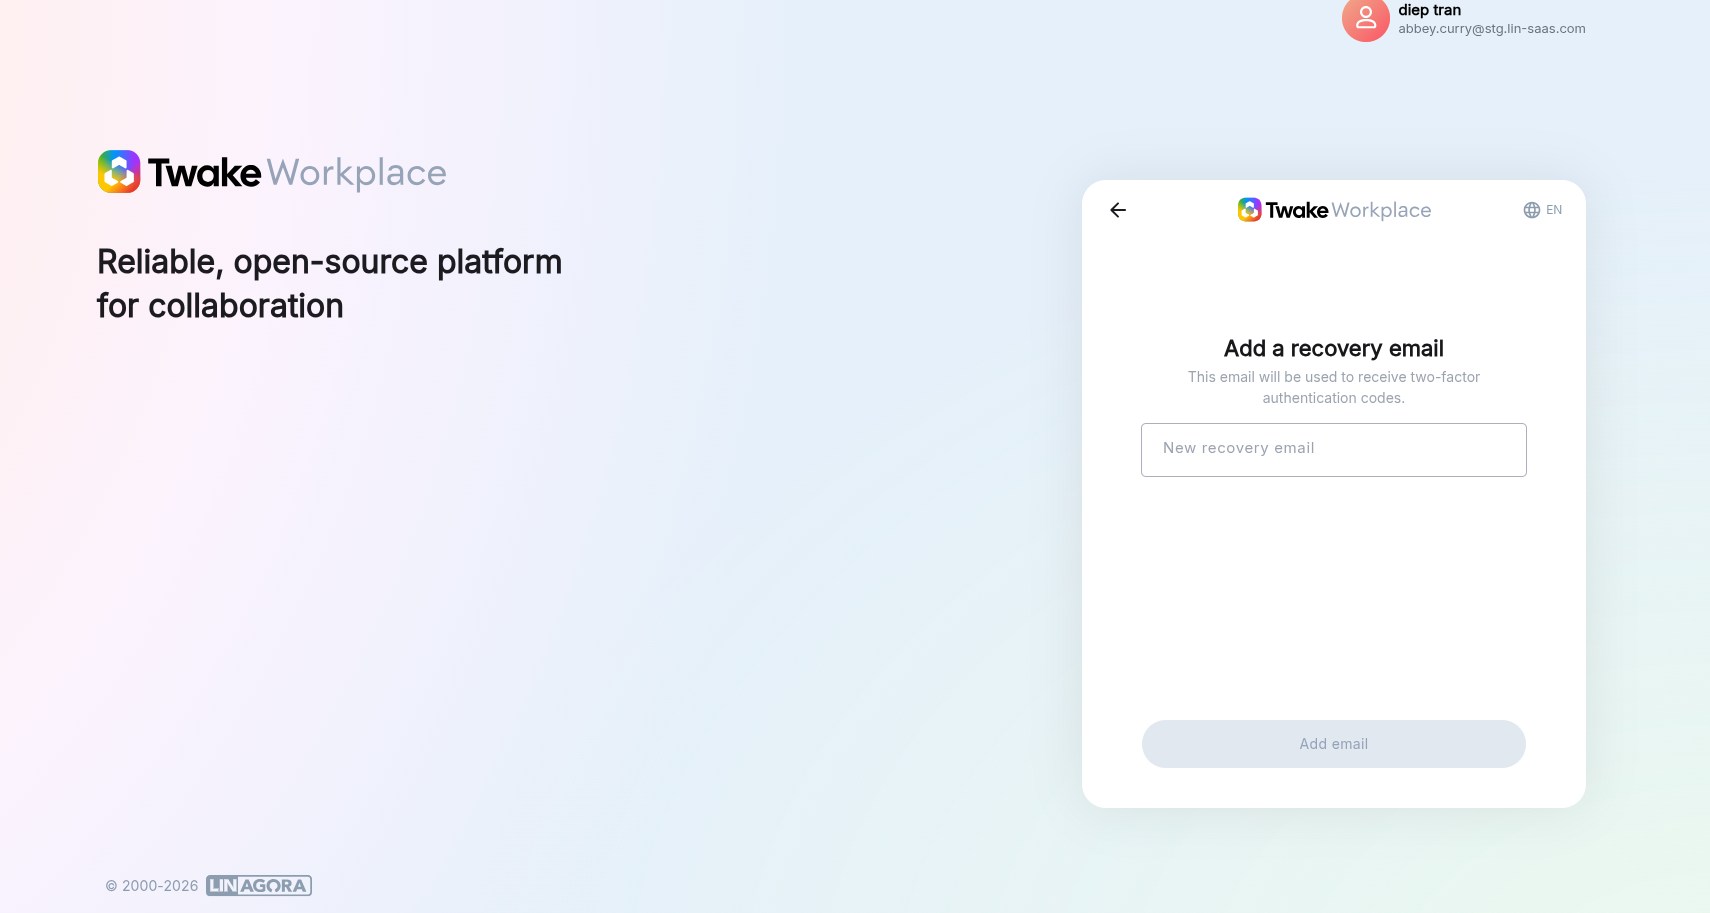
- In case you have not entered an recovery email before: You need to Enter your recovery email address. This will be used for verification and account recovery.
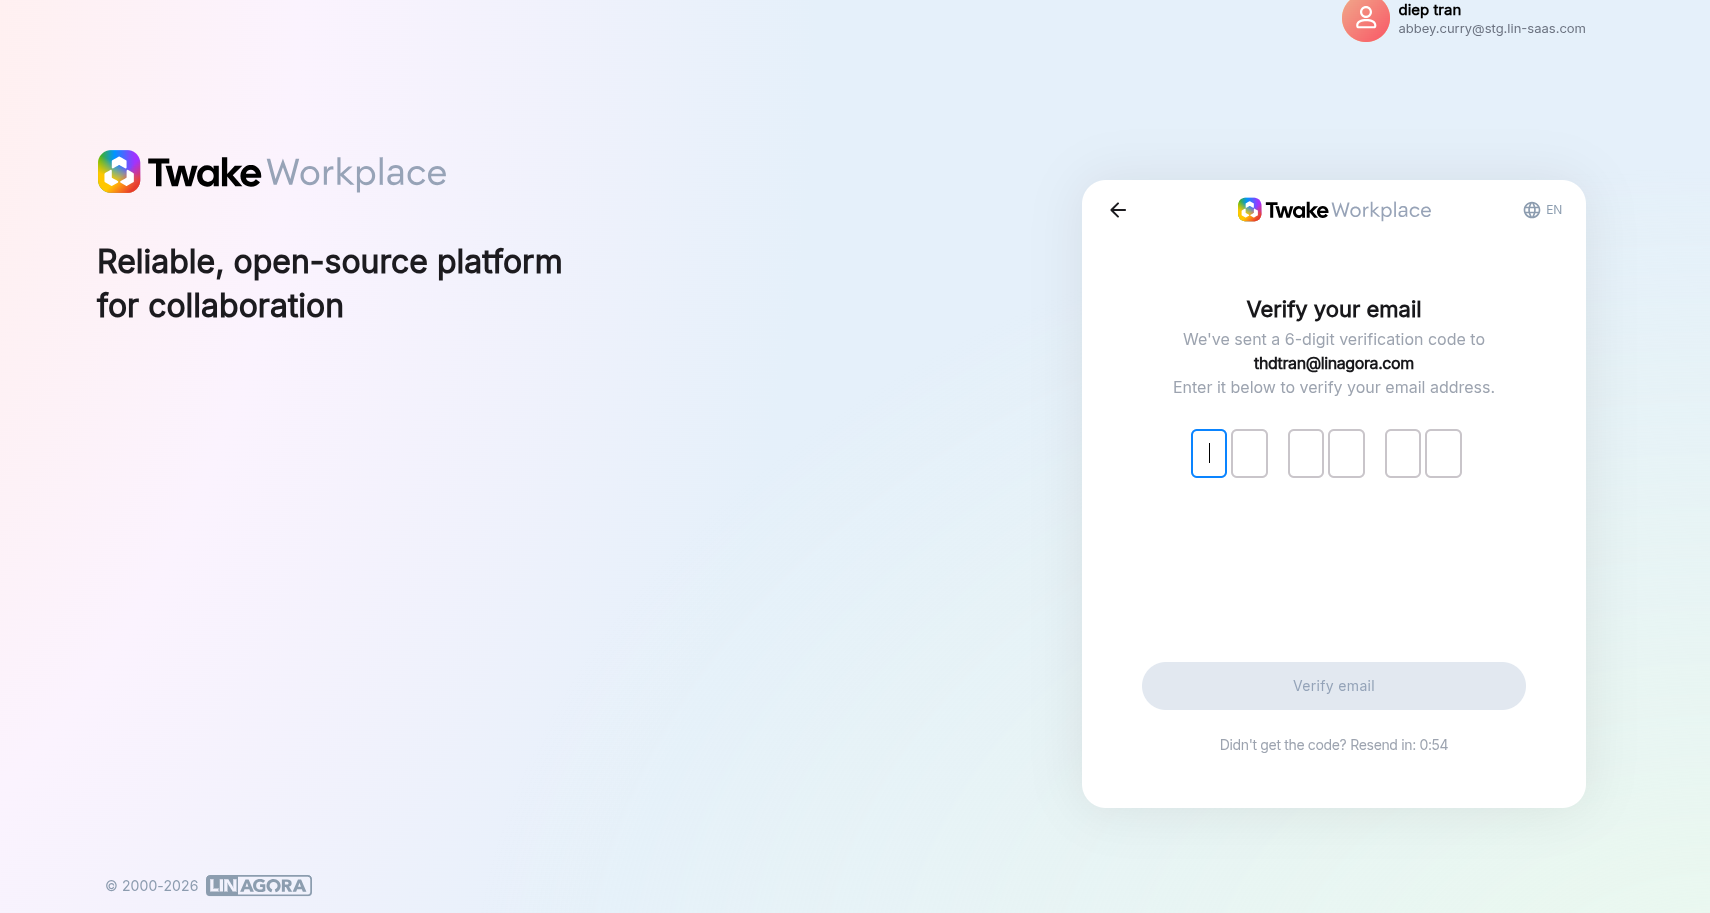
- Open your recovery email inbox, then enter the verification code you received:
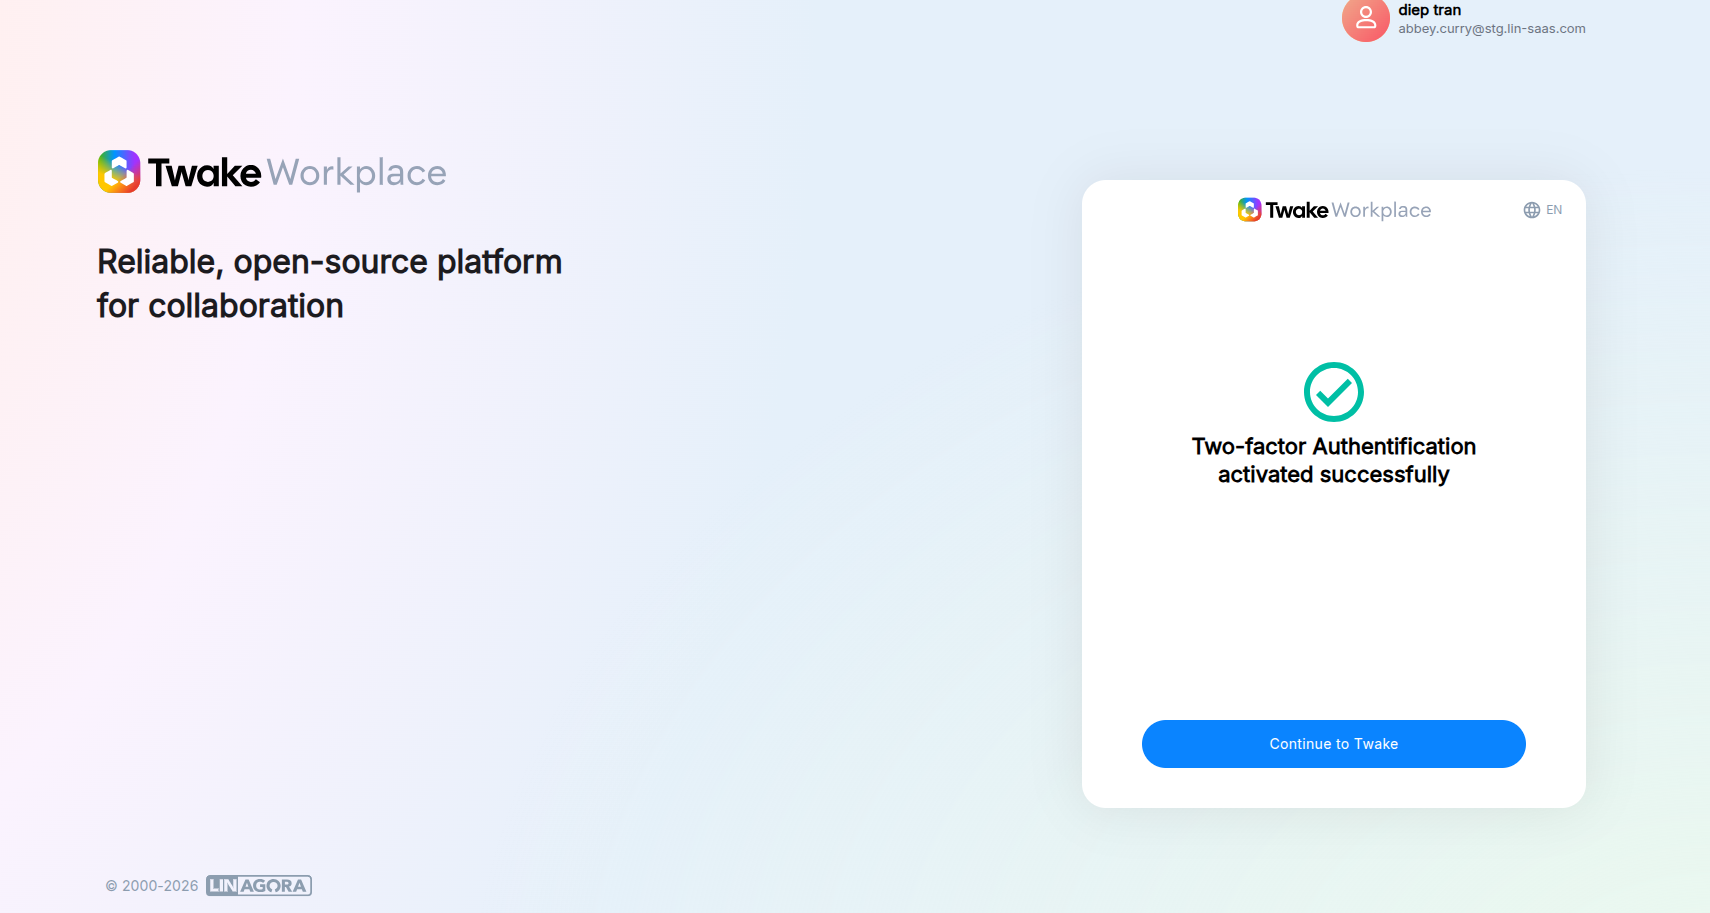
You’re All Set! Two-factor authentication is now enabled.
You’ll be asked for a verification code each time you sign in.
How to disable Two-Factor Authentication
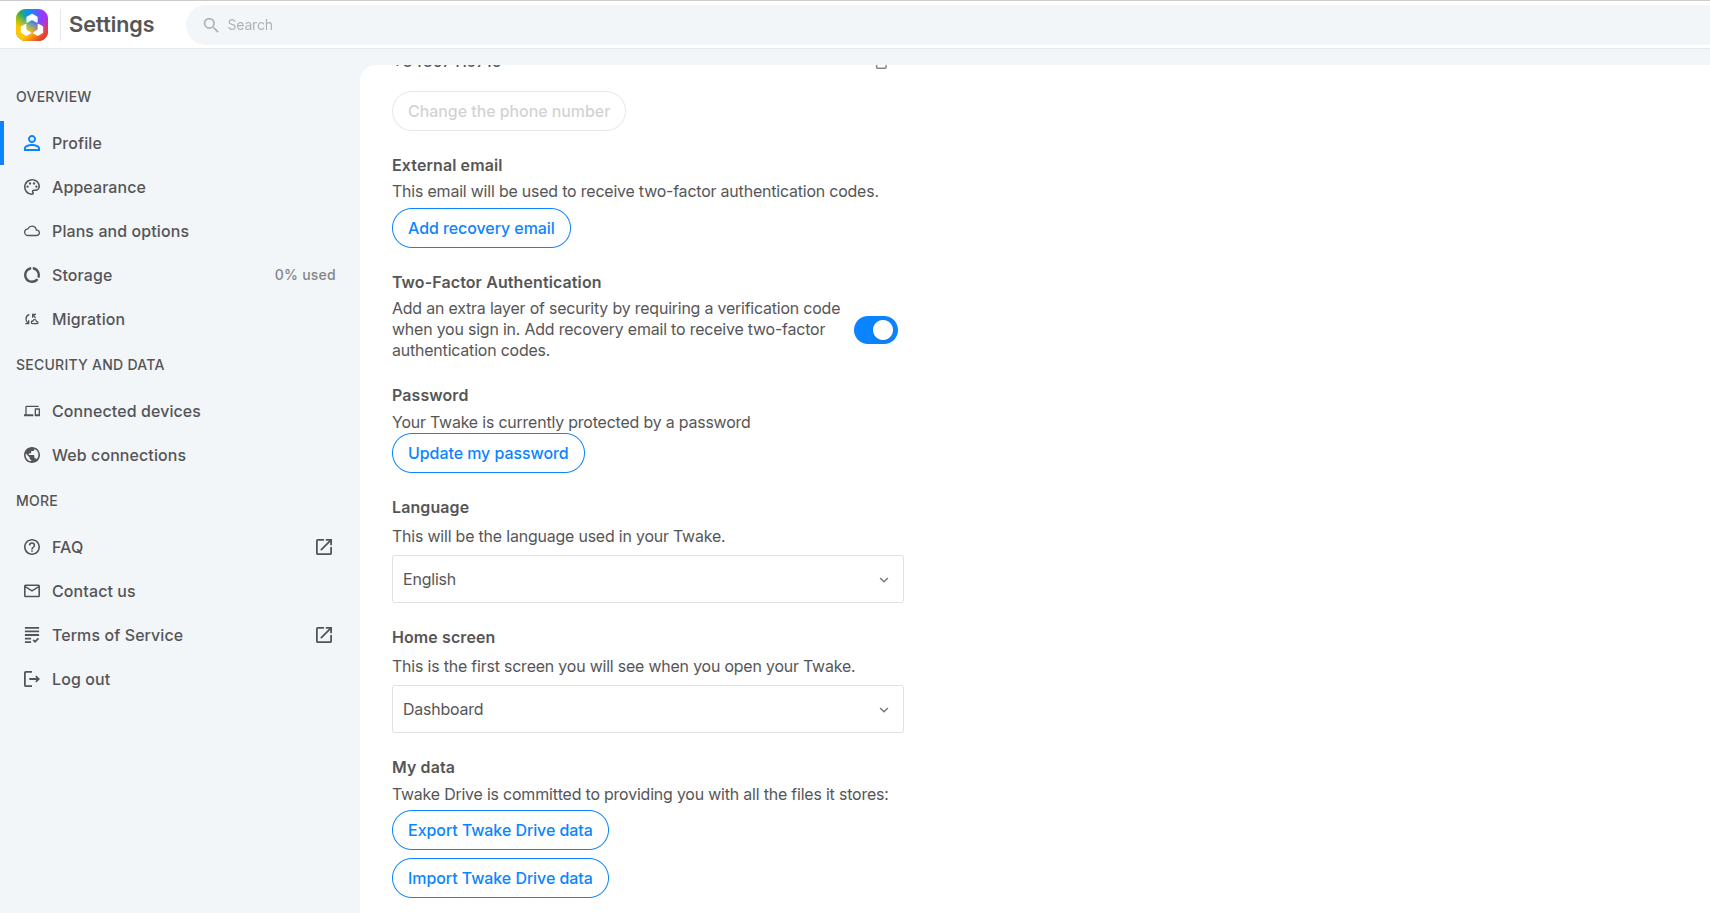
- Open Profile Settings
- Go to the Two-Factor Authentication section and Turn off the toggle switch
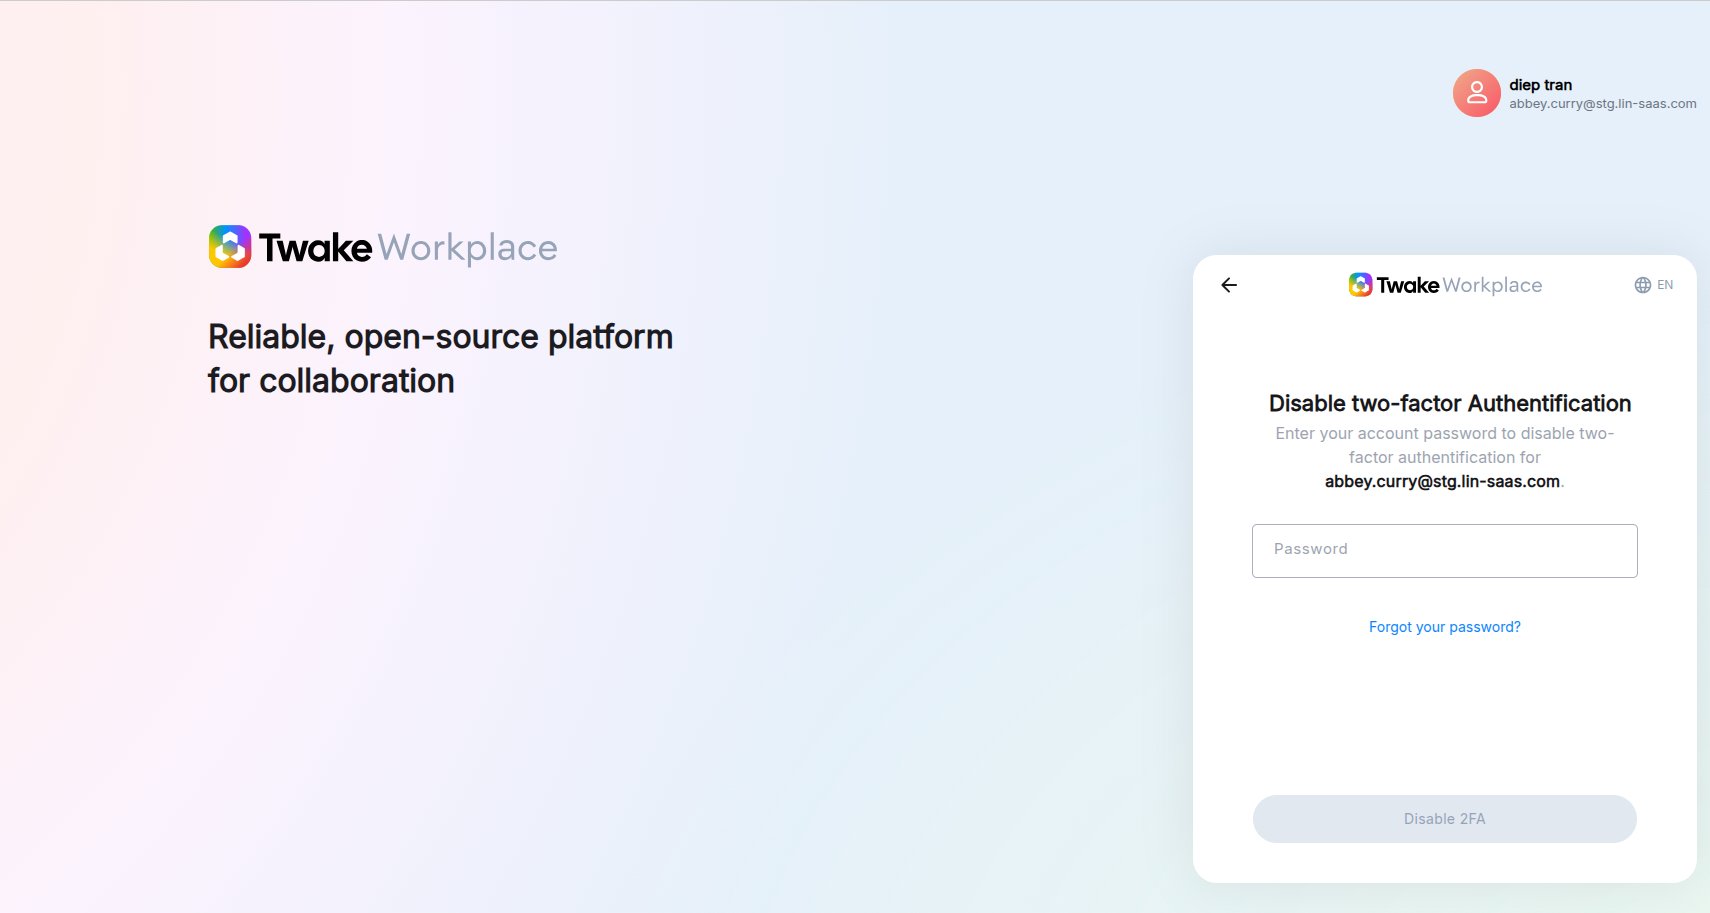
- Enter your account password, then click “Disable 2FA”:
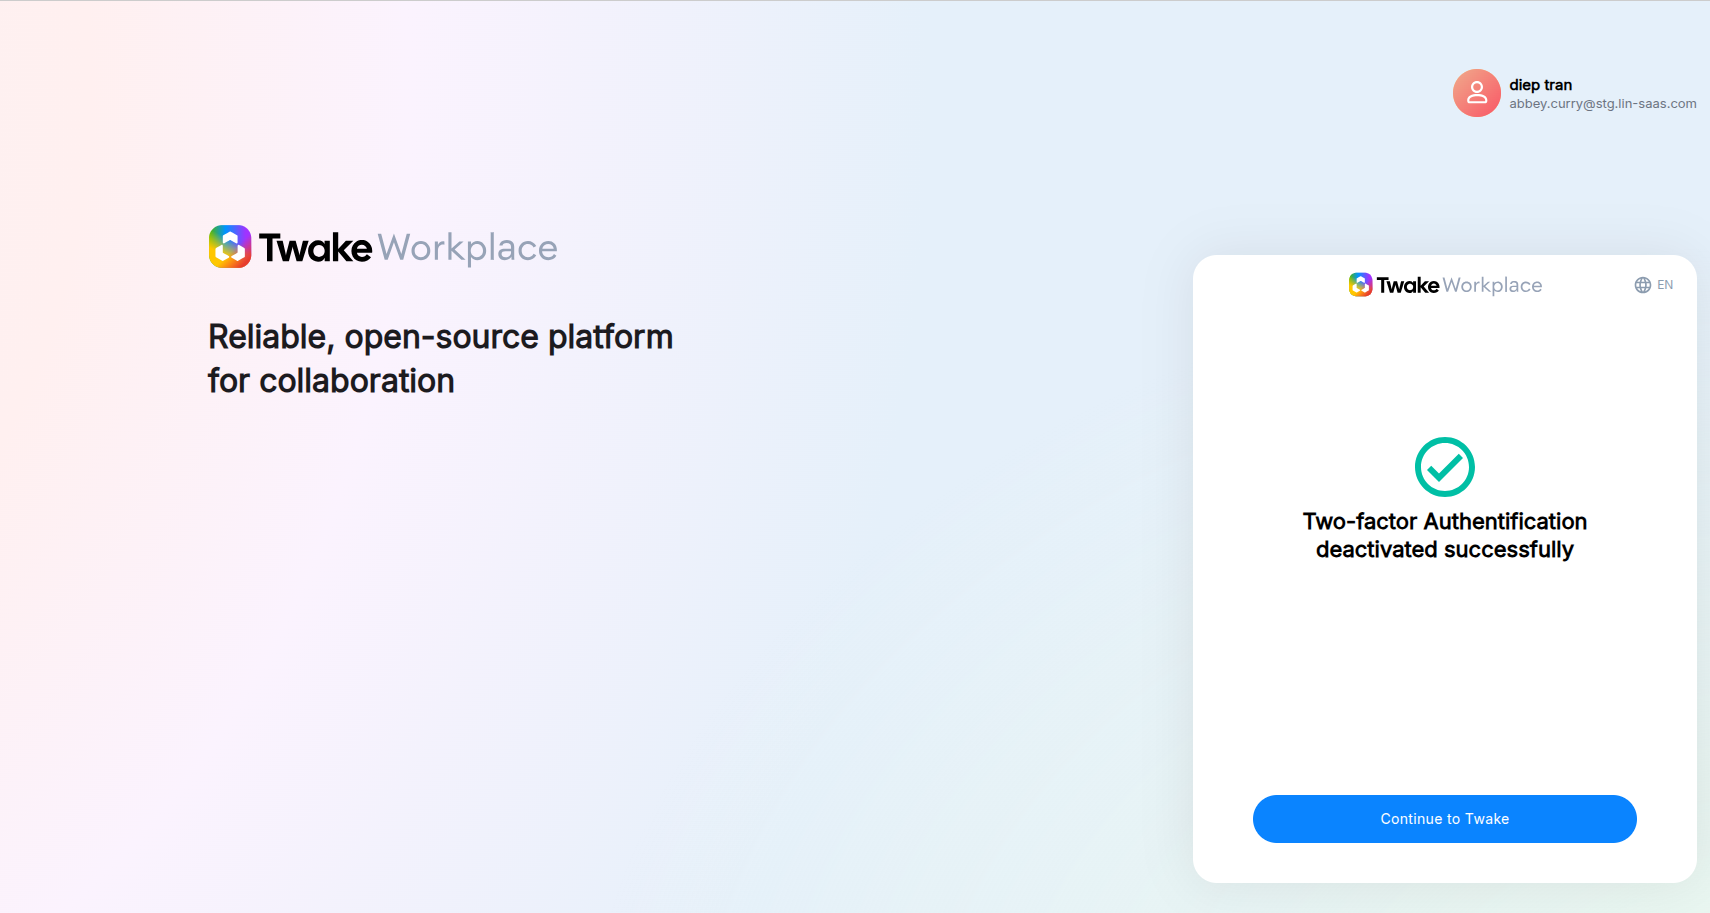
A confirmation message: “Two-factor Authentication deactivated successfully”: