Discover Twake Visio in 5 steps
Your step-by-step onboarding guide
Step 1 — Access the meeting portal
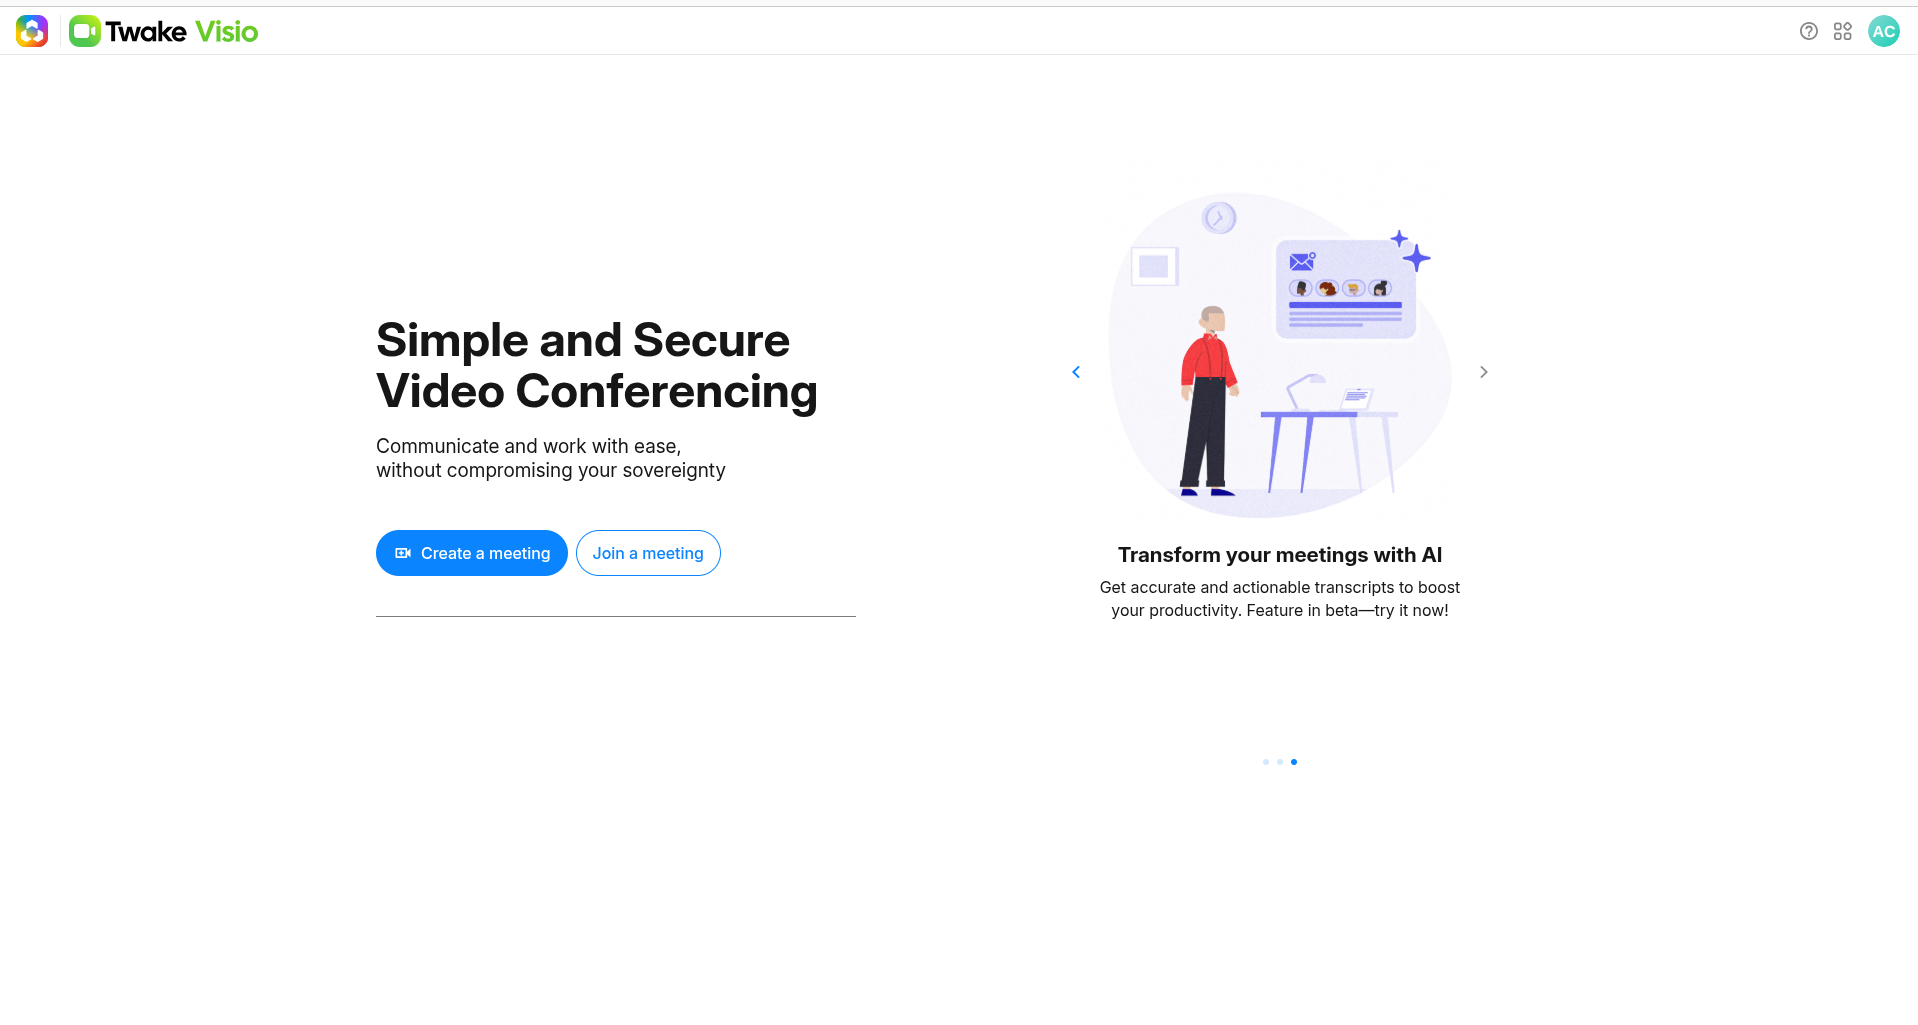
When you open Twake Visio, you'll arrive on the home page.
From here, you can:
- Create a new meeting
- Join an existing meeting
- Access your account settings
Step 2 — Join a meeting
Already have a meeting invitation?
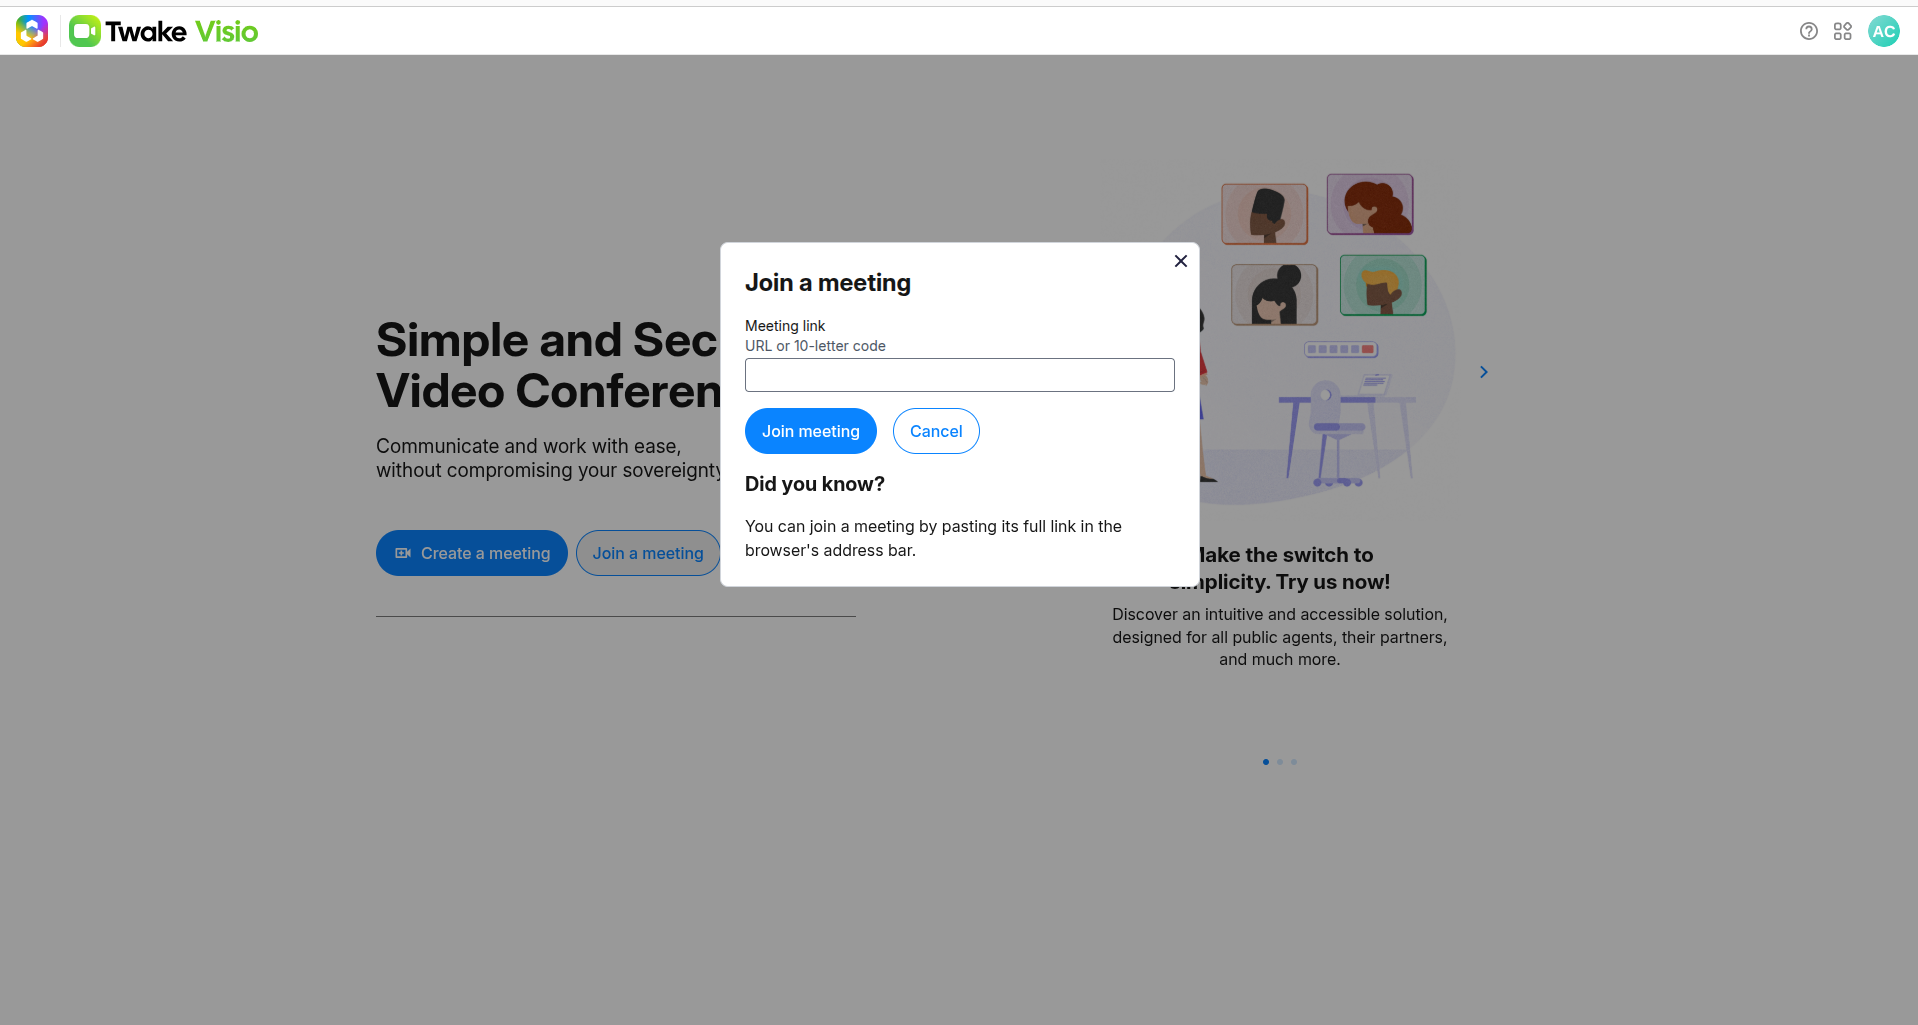
Click Join a meeting and enter:
- A meeting link
- A meeting code
Then click Join meeting to enter the room.
This allows participants to quickly connect using information shared by the meeting organizer.
💡 You can also paste the full meeting URL directly into your browser.
Step 3 — Create a meeting
Need to start a discussion?
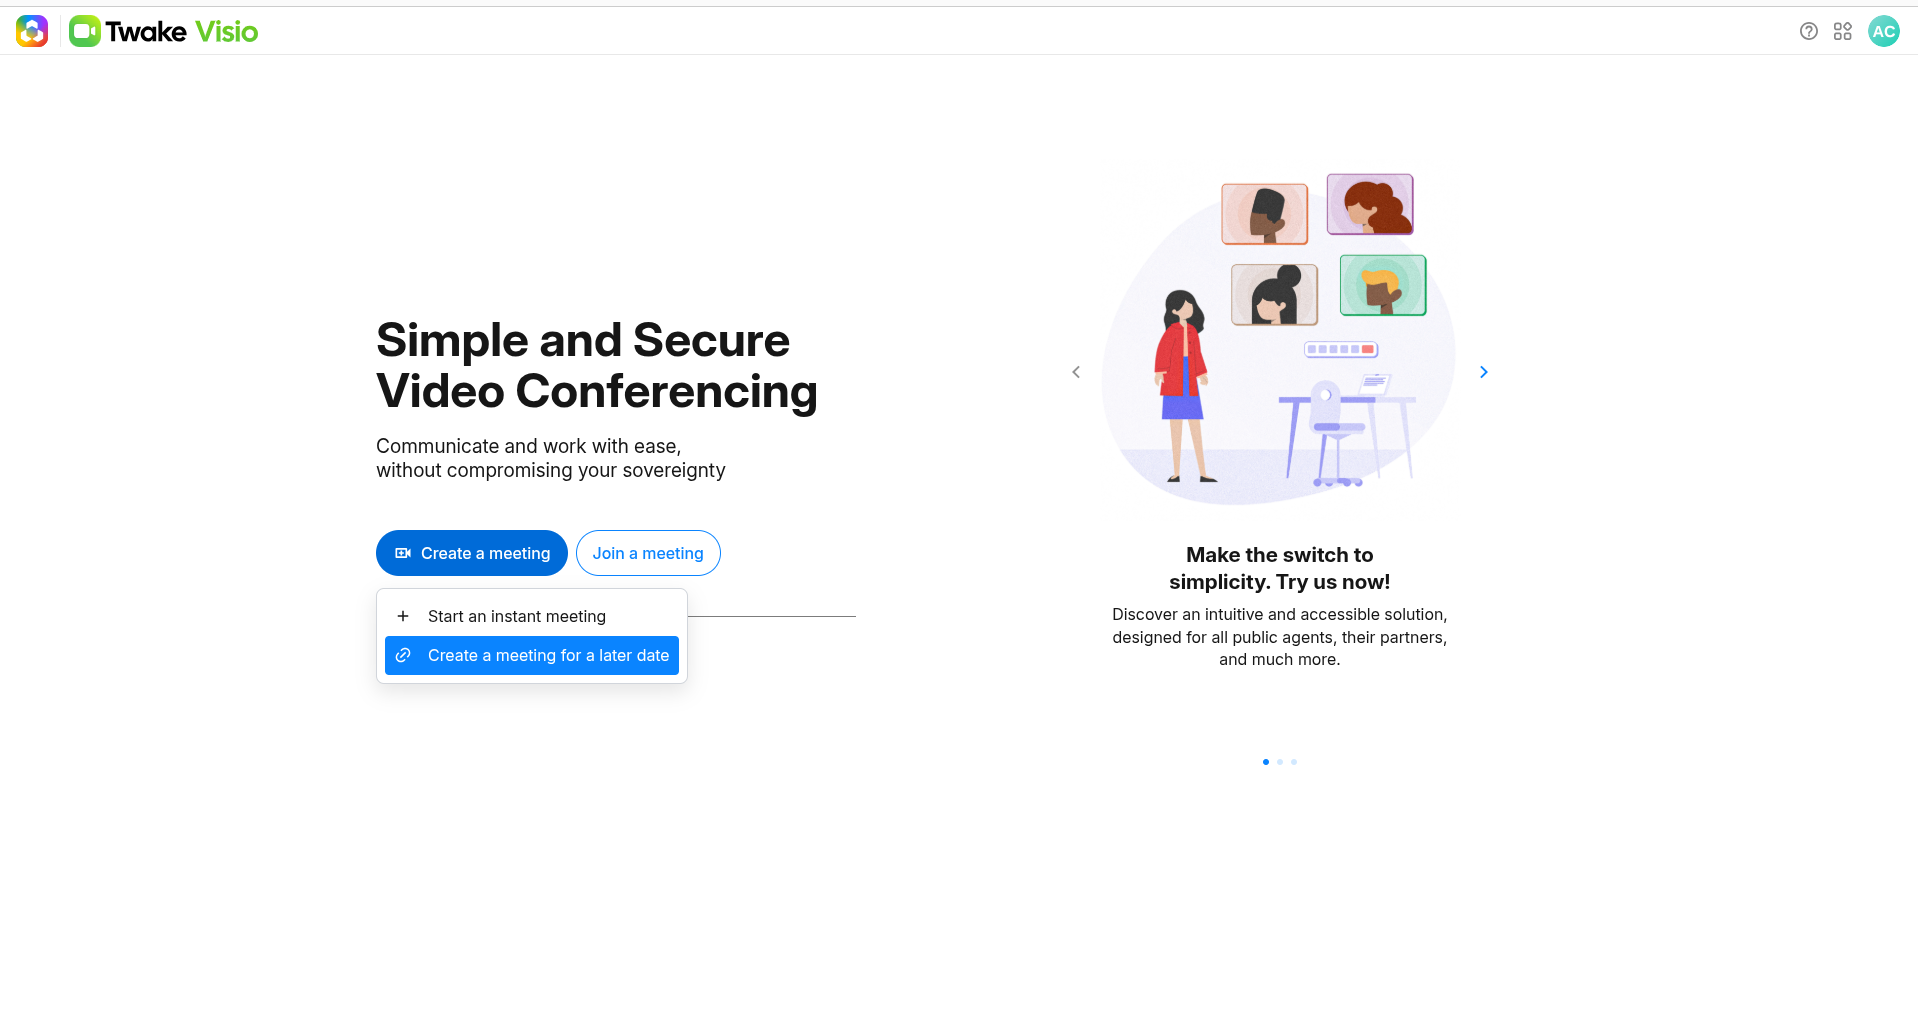
Click Create a meeting to choose between:
- Start an instant meeting for immediate collaboration
- Create a meeting for a later date and share the invitation in advance
Twake Visio makes it easy to organize both spontaneous discussions and planned meetings.
Step 4 — Invite participants
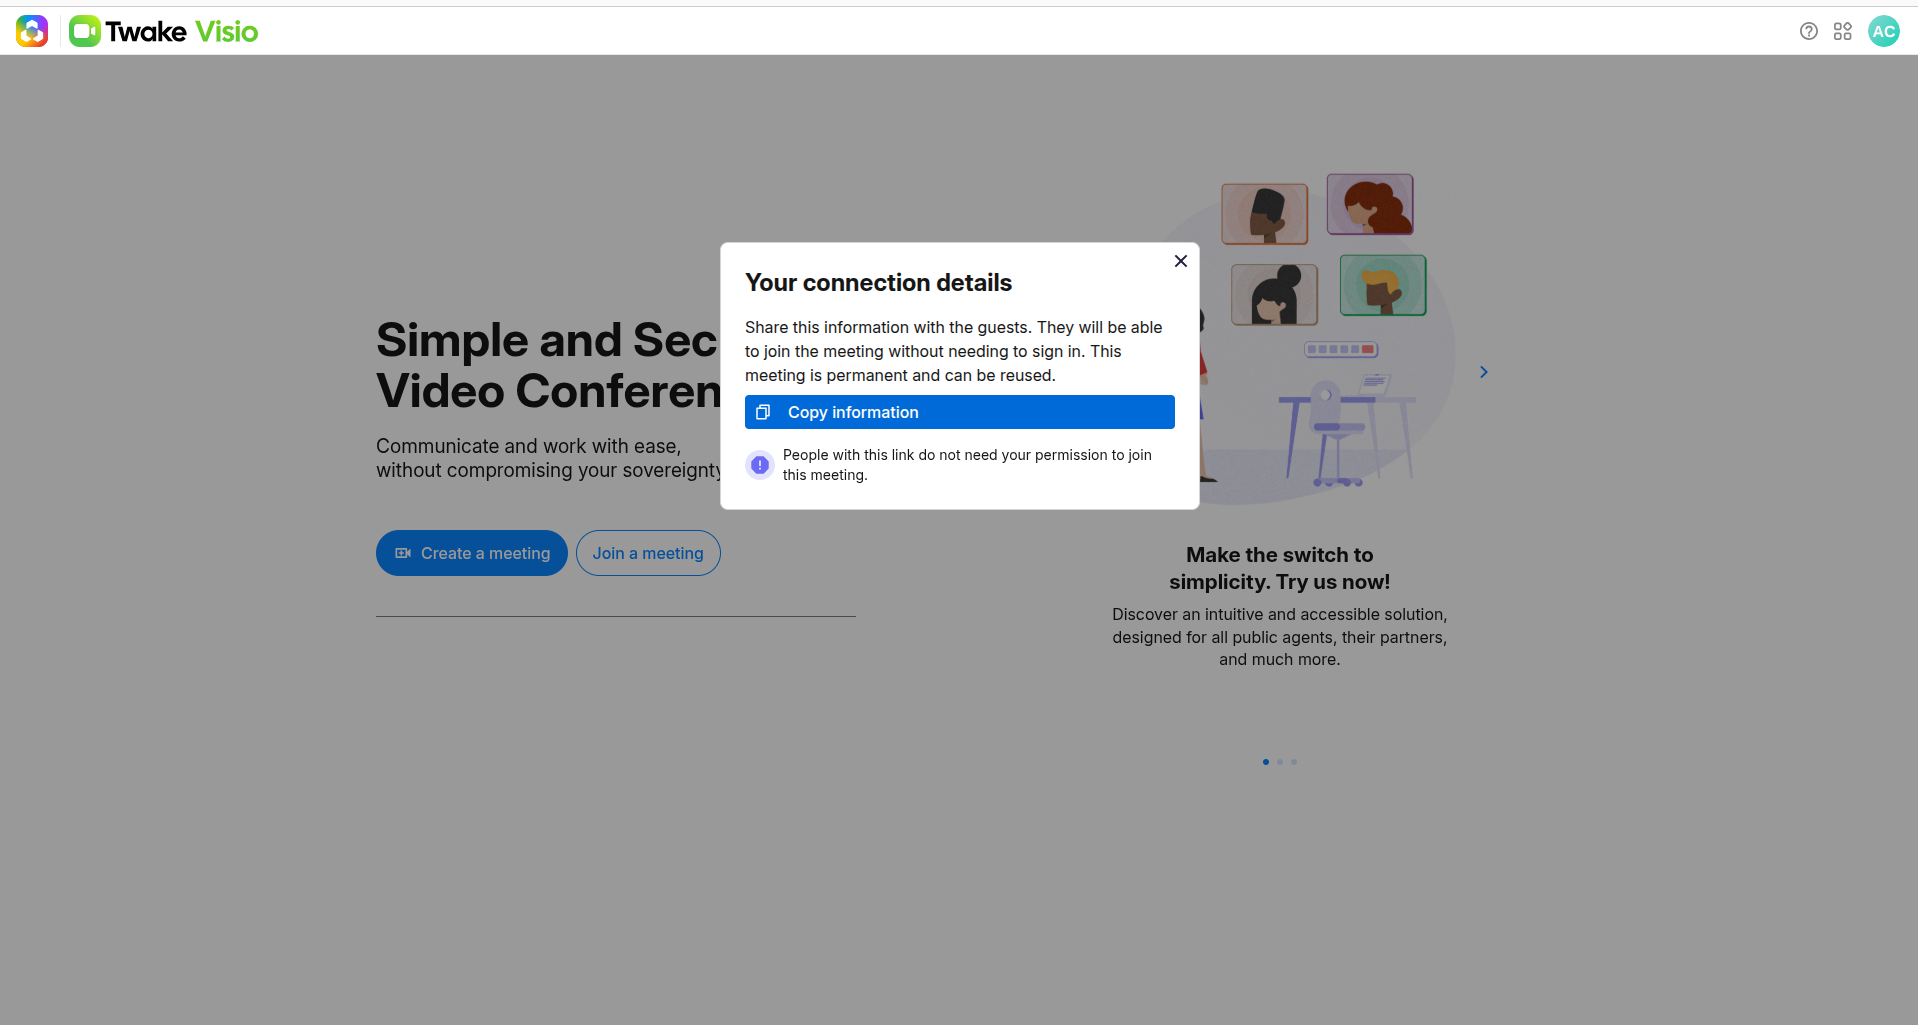
Once a meeting is created, Twake Visio generates connection details that you can share with attendees.
To invite participants:
- Copy the meeting link
- Share it by email, chat, or calendar invitation
- Allow participants to join directly from their browser
Guests can join using the meeting link without needing a Twake account.
💡 Meeting links can be reused and distributed to both internal and external participants.
Step 5 — Collaborate during your meeting
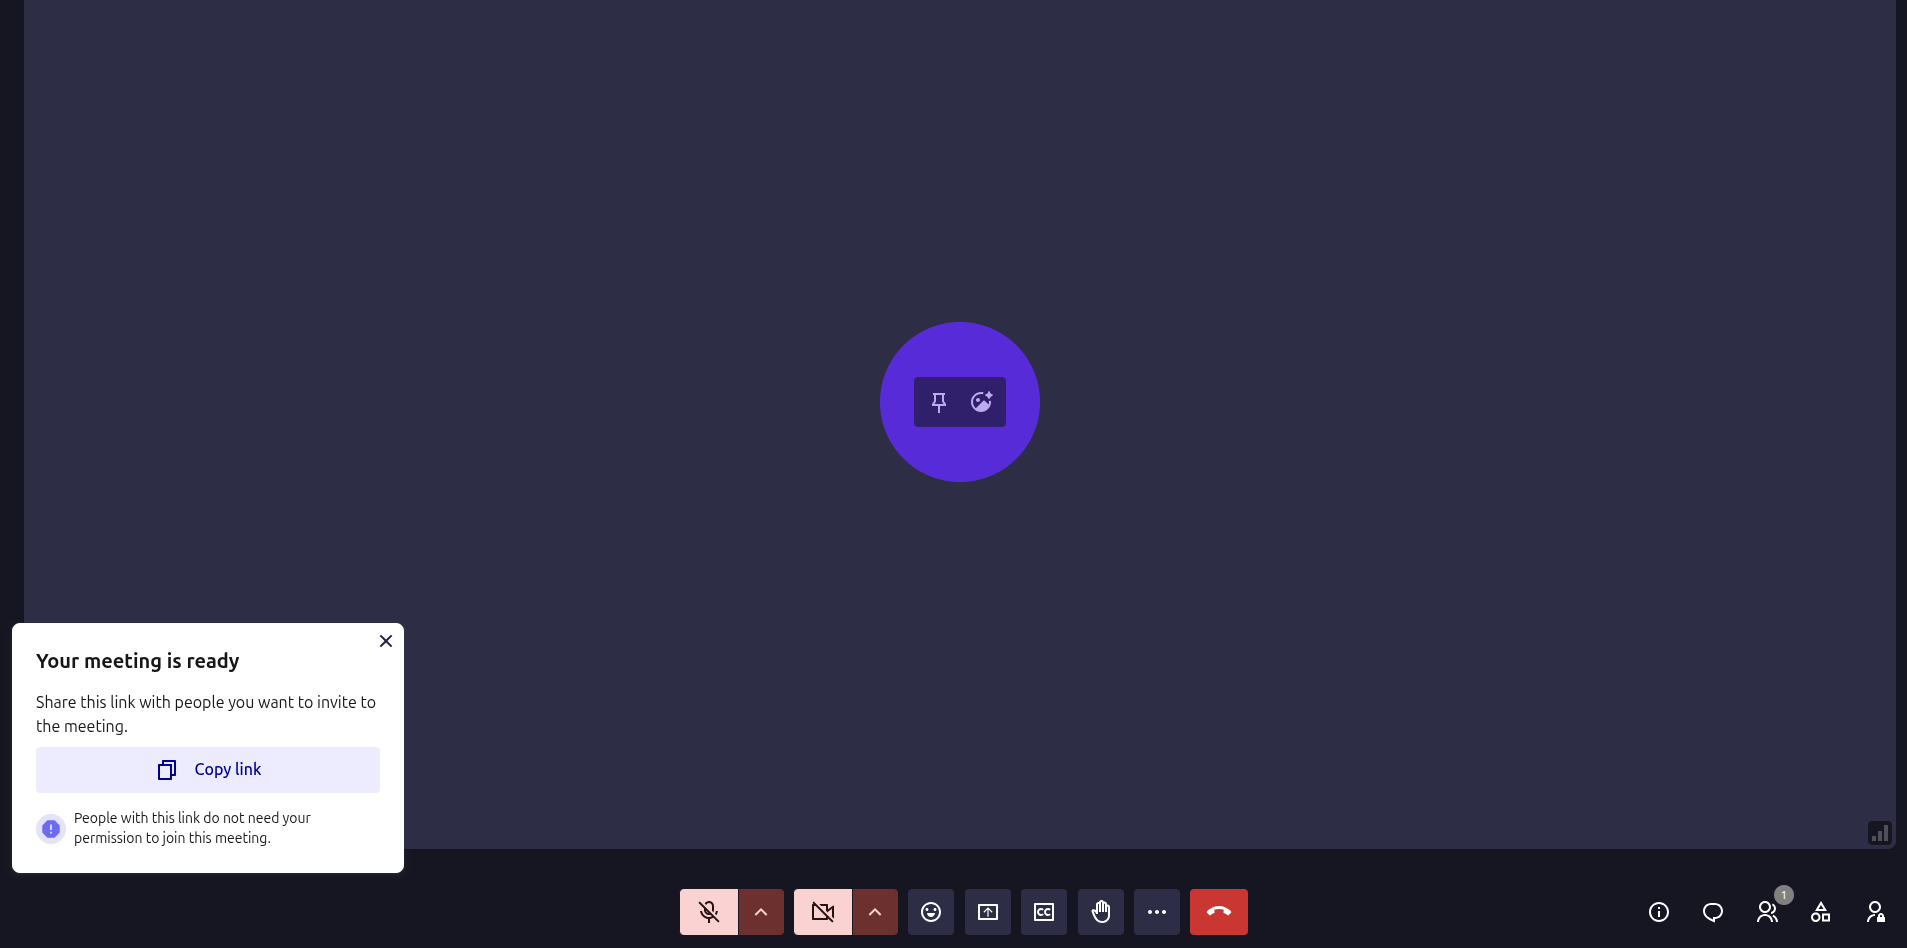
Inside a meeting room, you have access to essential conferencing tools.
Available features include:
- Microphone controls
- Camera controls
- Screen sharing
- Live captions
- Participant management
- Chat and collaboration tools
....
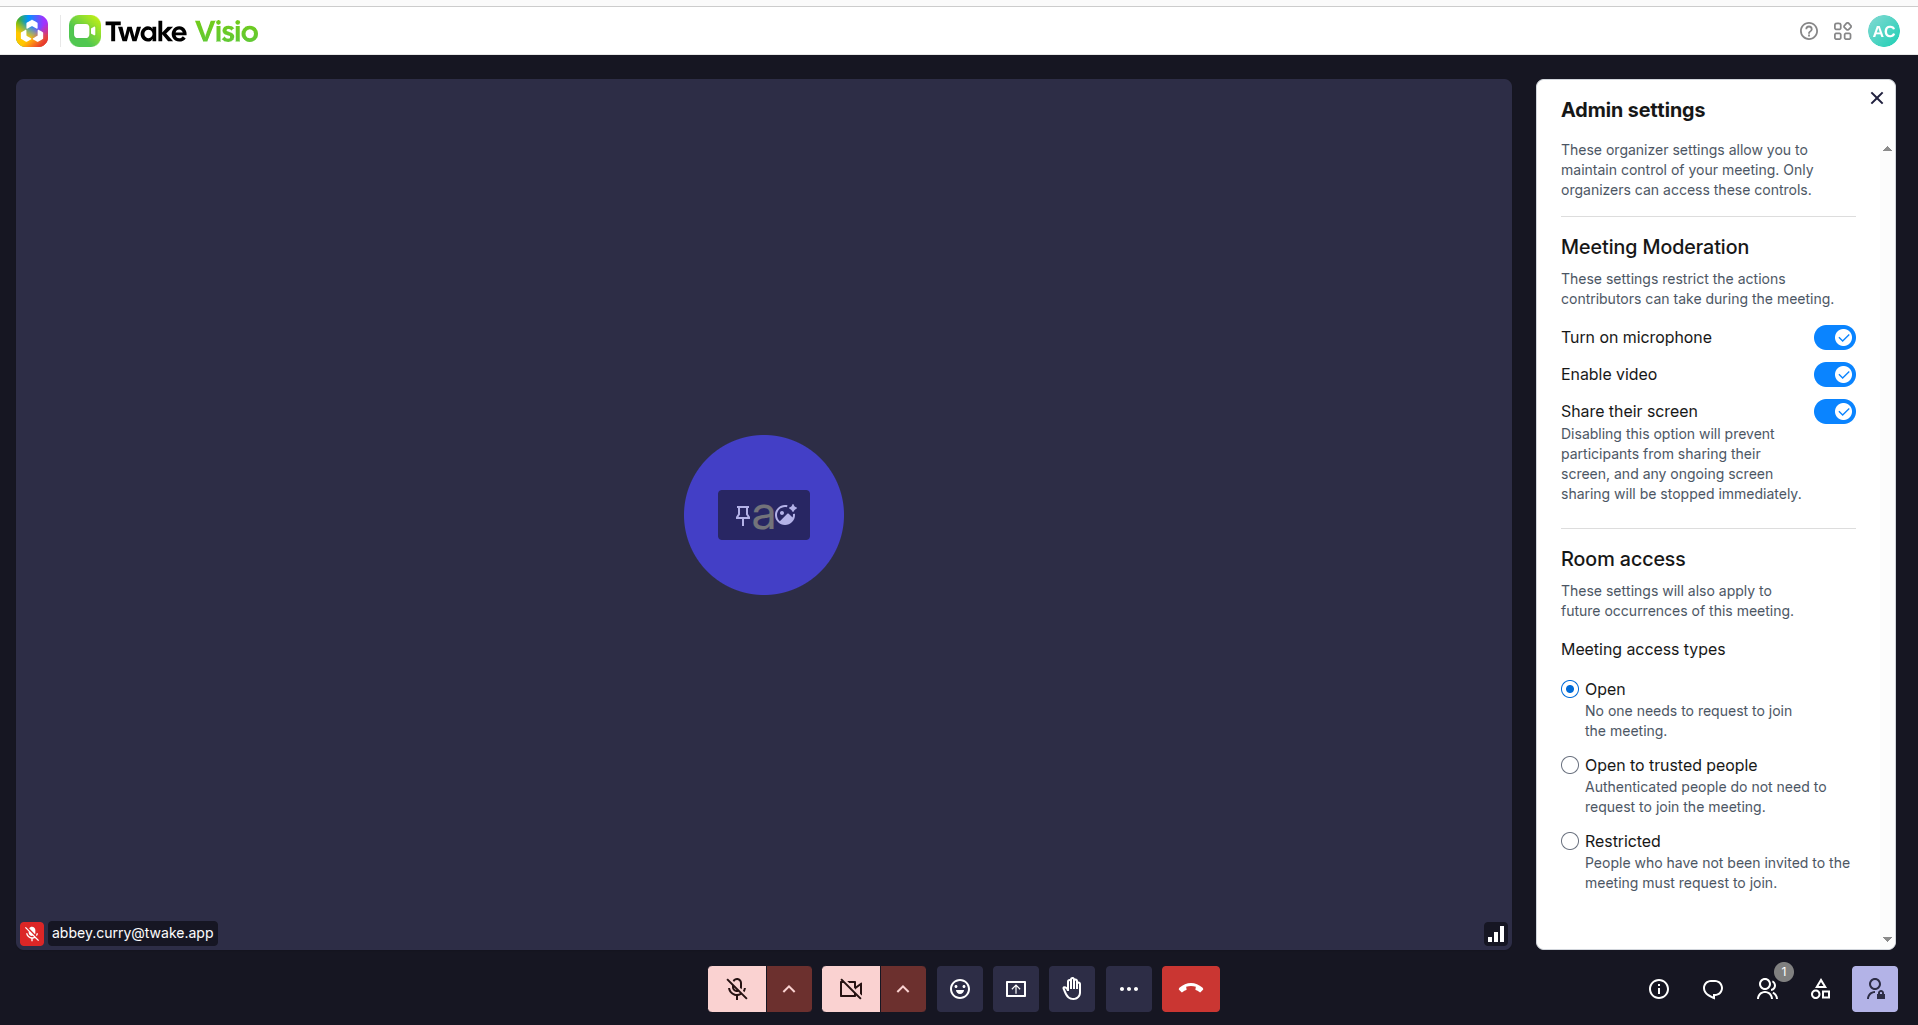
Meeting organizers have access to moderation and room access controls through the Admin settings panel: