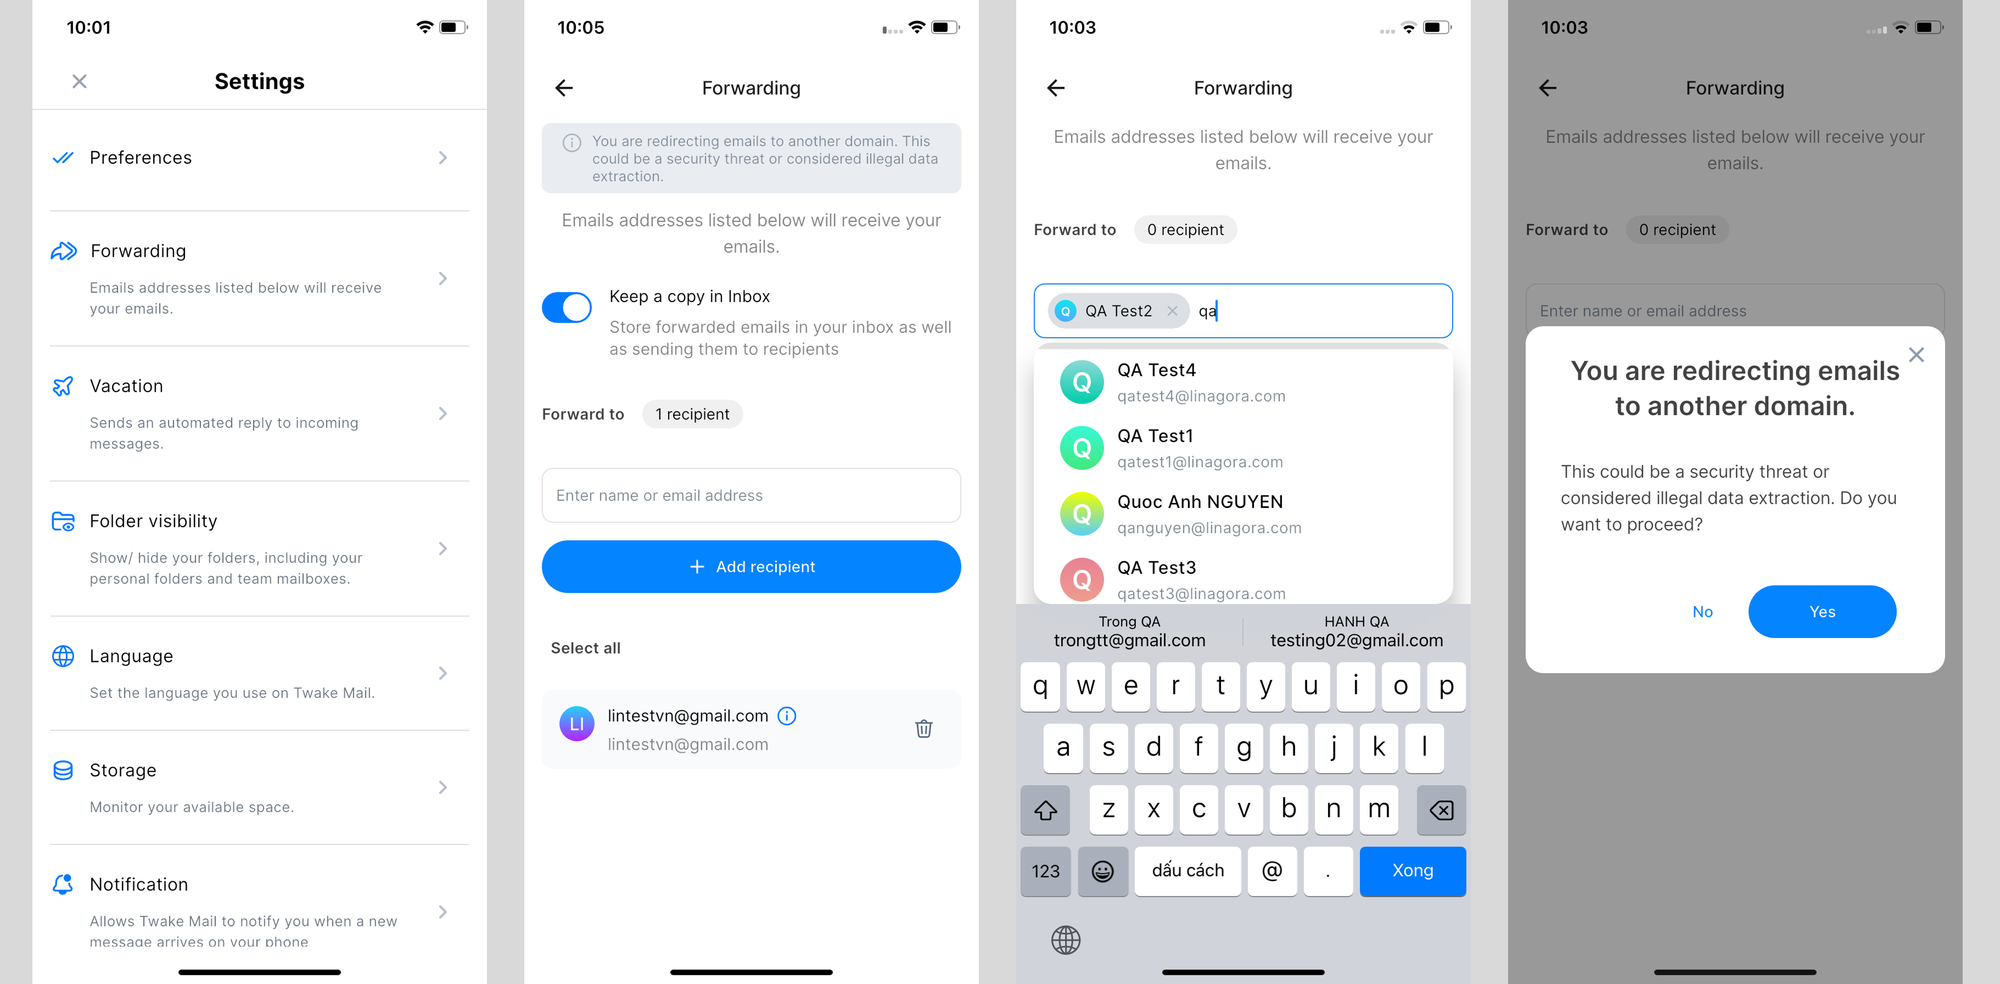
Forwarding Emails
Note: The Forwarding feature is not available in the Twake Mail SaaS version. It is only supported for on-premise deployments where email forwarding policies are managed by the organization's administrators.
This feature allows you to automatically send emails you receive to another email address.
To access Forwarding settings:
- Click your profile avatar in the top-right corner.
- Select Manage account.
- Click Forwarding from the left menu
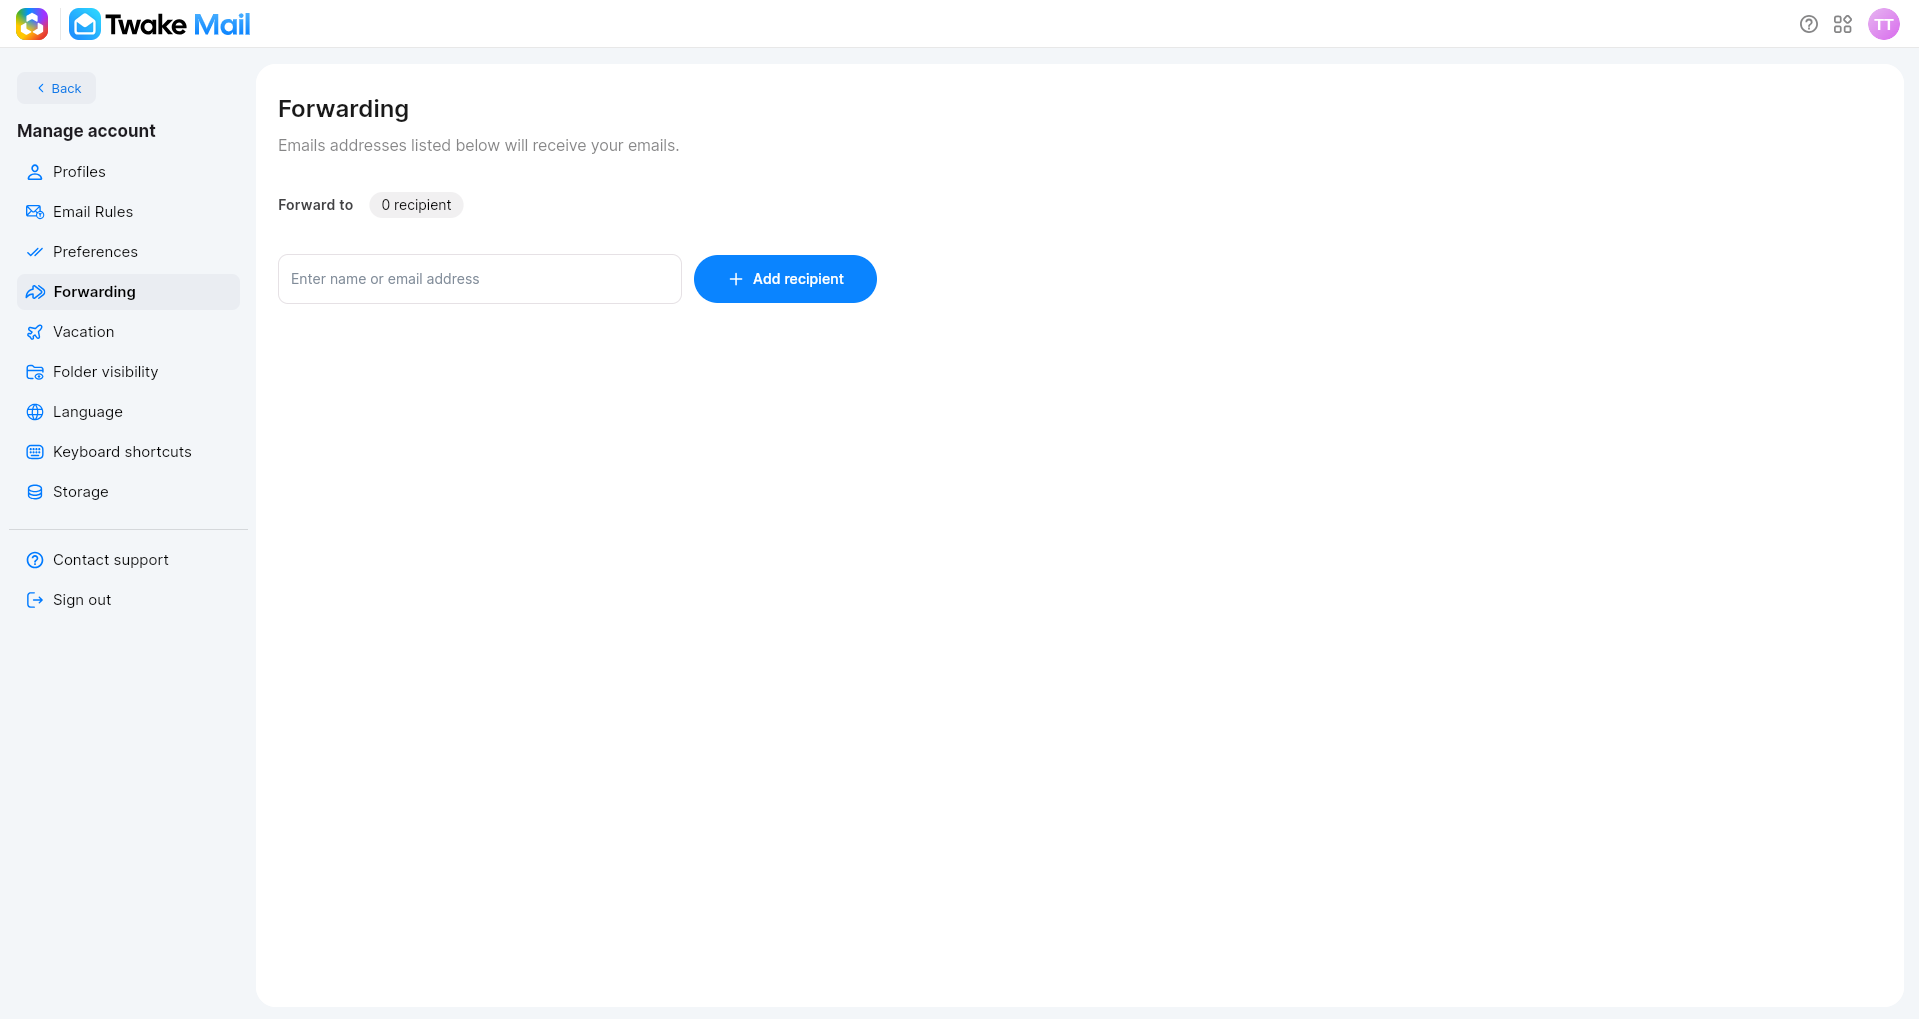
Add a Forwarding Recipient
- Open the Forwarding page.
- In the Forward to field, enter the name or email address of the recipient.
- Select the recipients from the suggested results. You can select multiple recipients
- Click Add recipient.
The recipient will be added to the forwarding list:
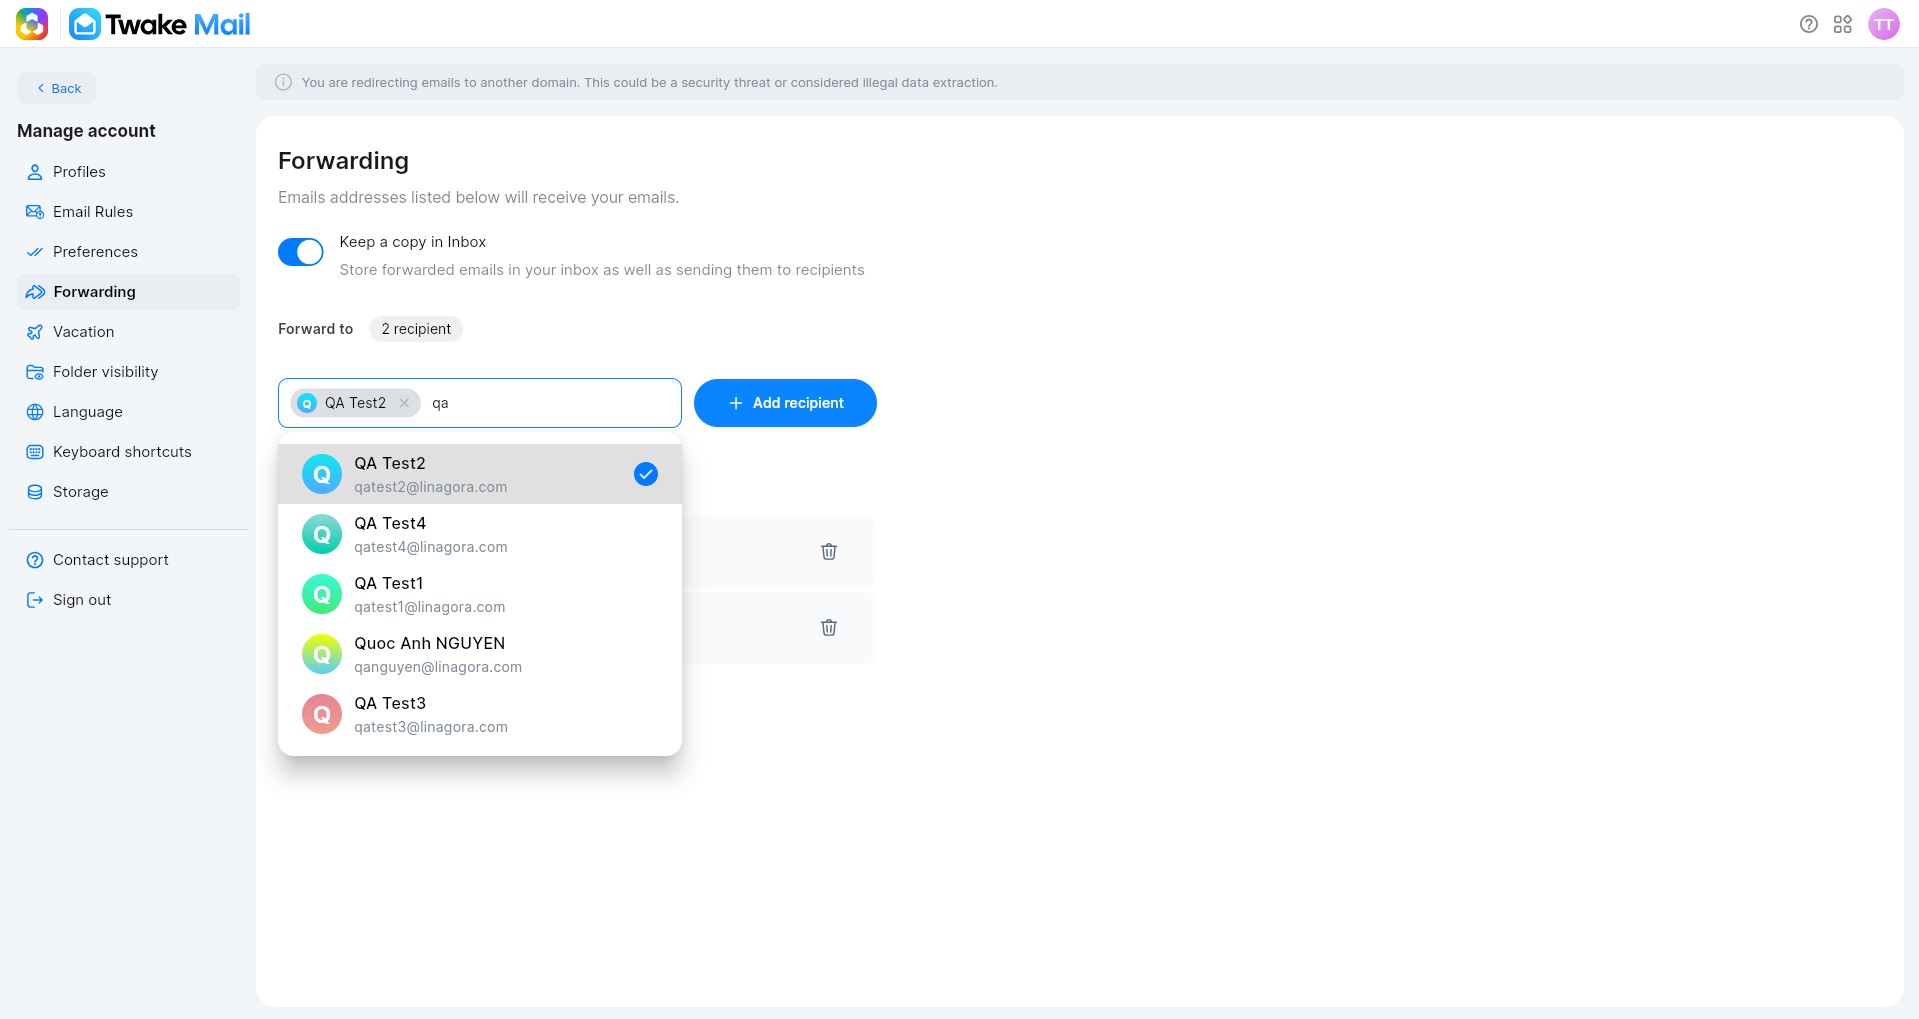
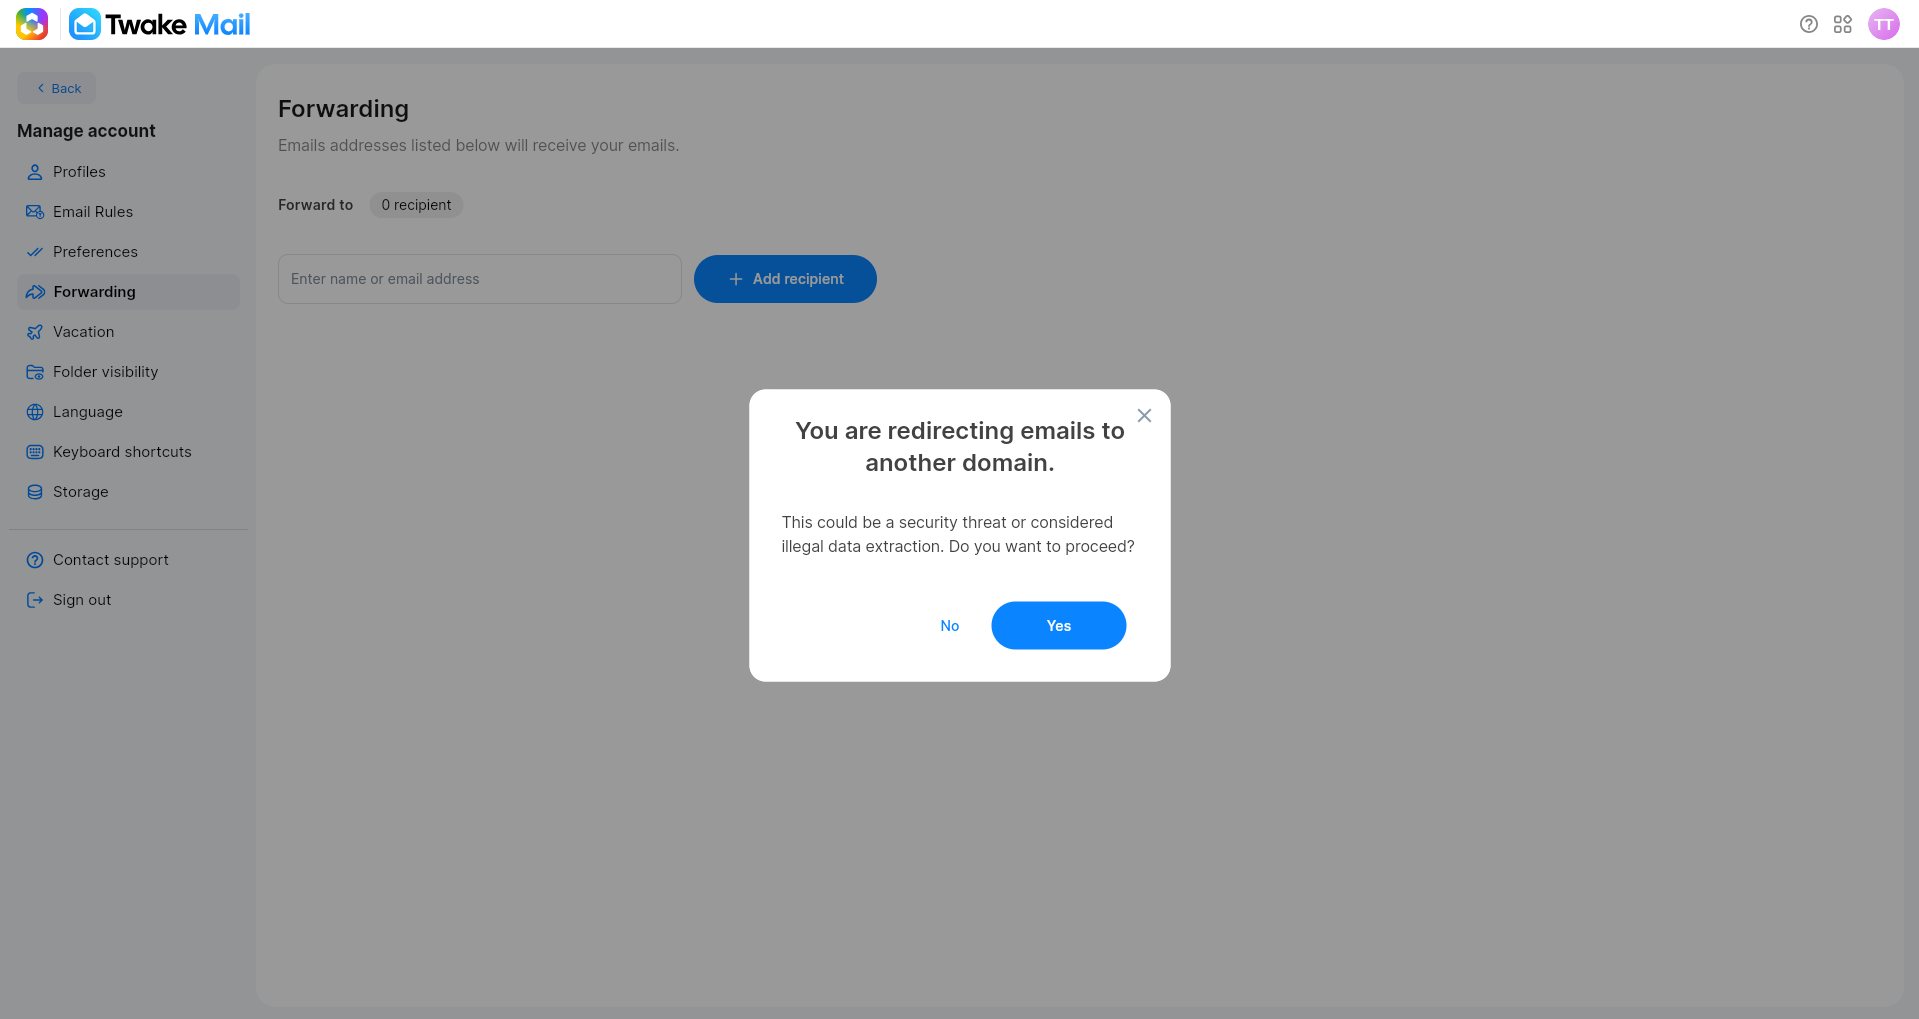
If you add a recipient from a different domain, Twake Mail displays a security warning:
Keep a Copy in Inbox
The Keep a copy in Inbox option determines whether forwarded emails remain in your mailbox. To enable or disable, you just need to switch the toggle on or off:
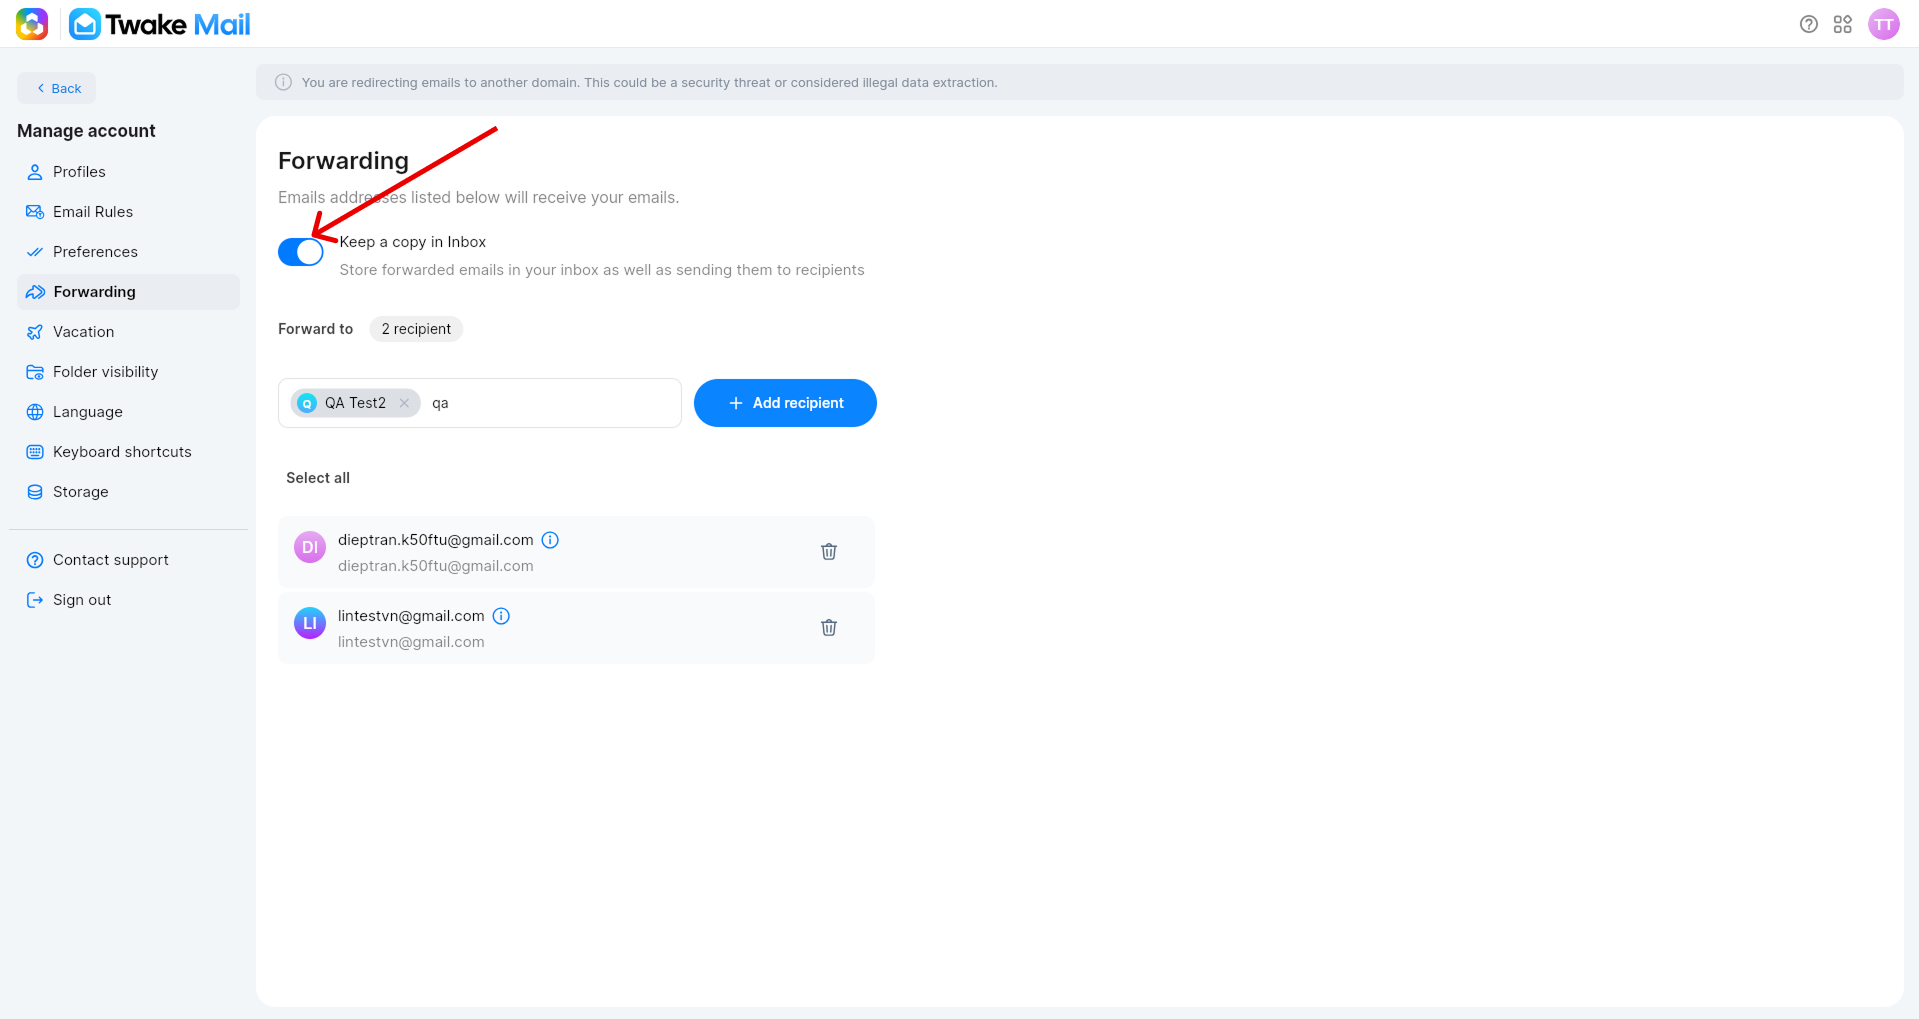
When enabled:
- Incoming emails are forwarded to all configured recipients.
- A copy of each email remains in your Inbox.
This could be helpful in some cases as:
- Consolidating Emails: Forward emails from multiple accounts to a central inbox for easier management.
- Backup: Automatically forward emails to a backup email address
- Forward emails at work to a personal mailbox in your vacation to ensure you don't lose important messages.
- Handle your departure
- ...
When disabled:
- Incoming emails are forwarded to all configured recipients.
- The original email is not kept in your Inbox.
Remove a Forwarding Recipient
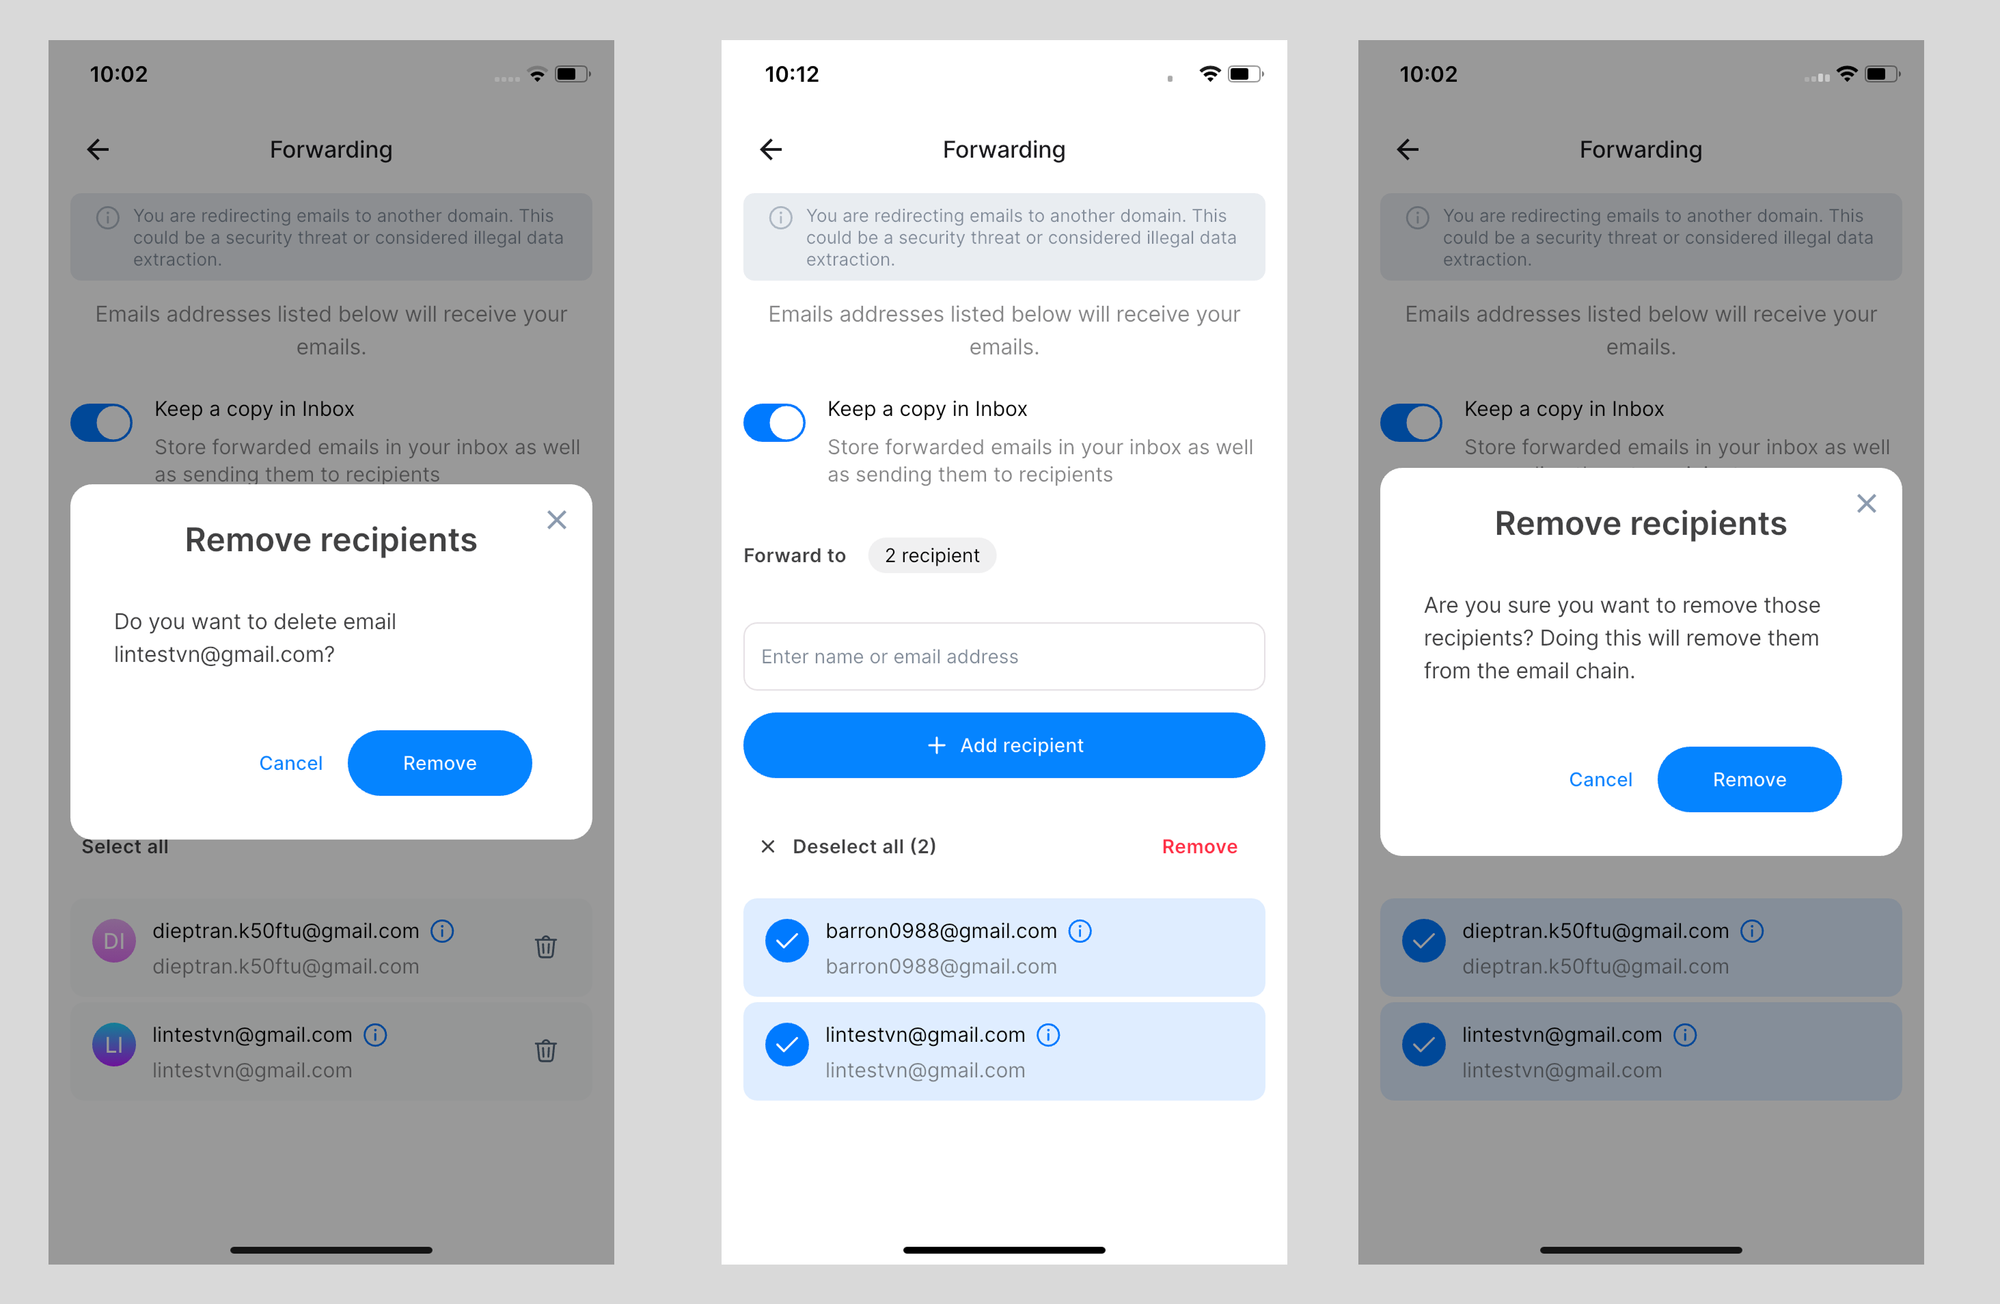
You can remove one or multiple forwarding recipients at any time.
Remove a Single Recipient
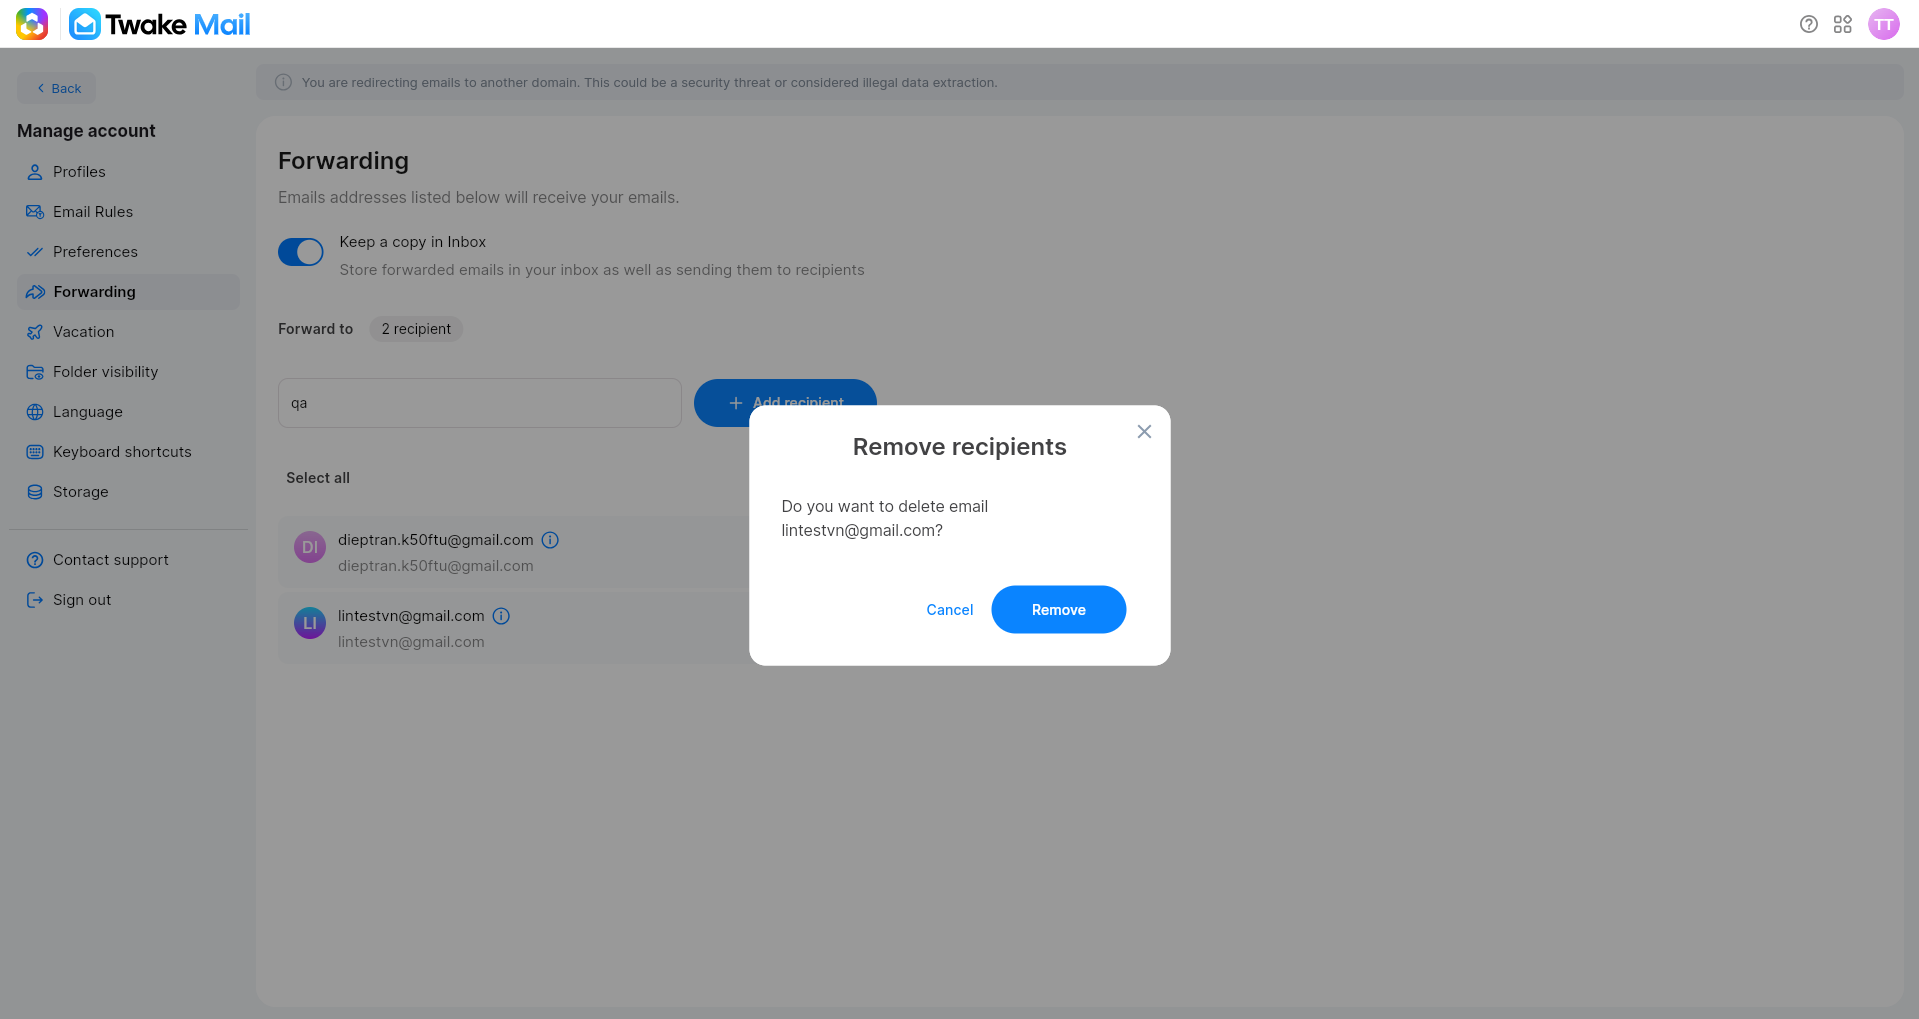
- Click the Delete (trash) icon next to the recipient.
- Click Remove to confirm.
The recipient will be removed from the forwarding list and will no longer receive forwarded emails:
Remove Multiple Recipients
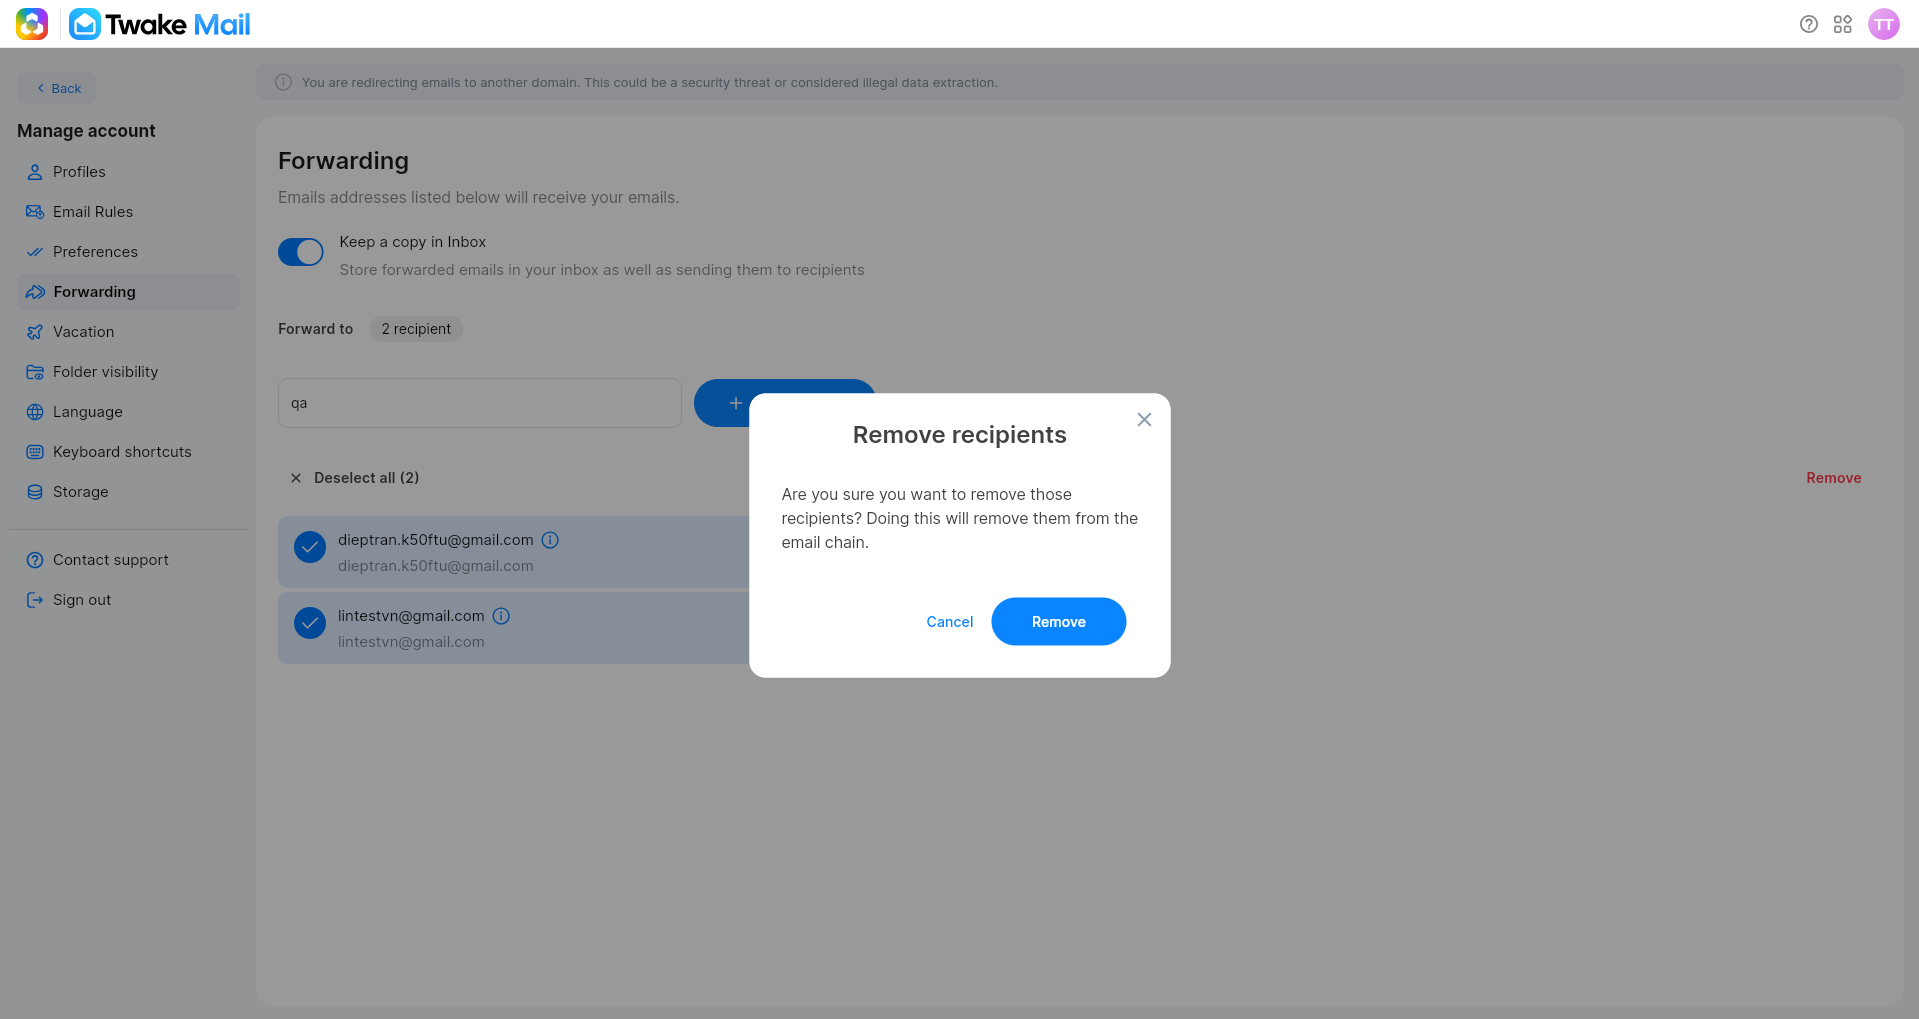
- Select the recipients you want to remove.
- Click Remove in the action bar.
- On the confirmation popup, click Remove to confirm.
All selected recipients will be removed from the forwarding list
On mobile: