Synchronize Twake's calendar and contacts on mobile app
On-premise only: CalDAV and CardDAV are available only to on-premise customers. They are not available in the Twake Workplace SaaS version.
Synchronize the calendar and contacts on android
To synchronize your Twake calendar and contacts with your Android device, first install the Twake Sync app.
Follow these steps:
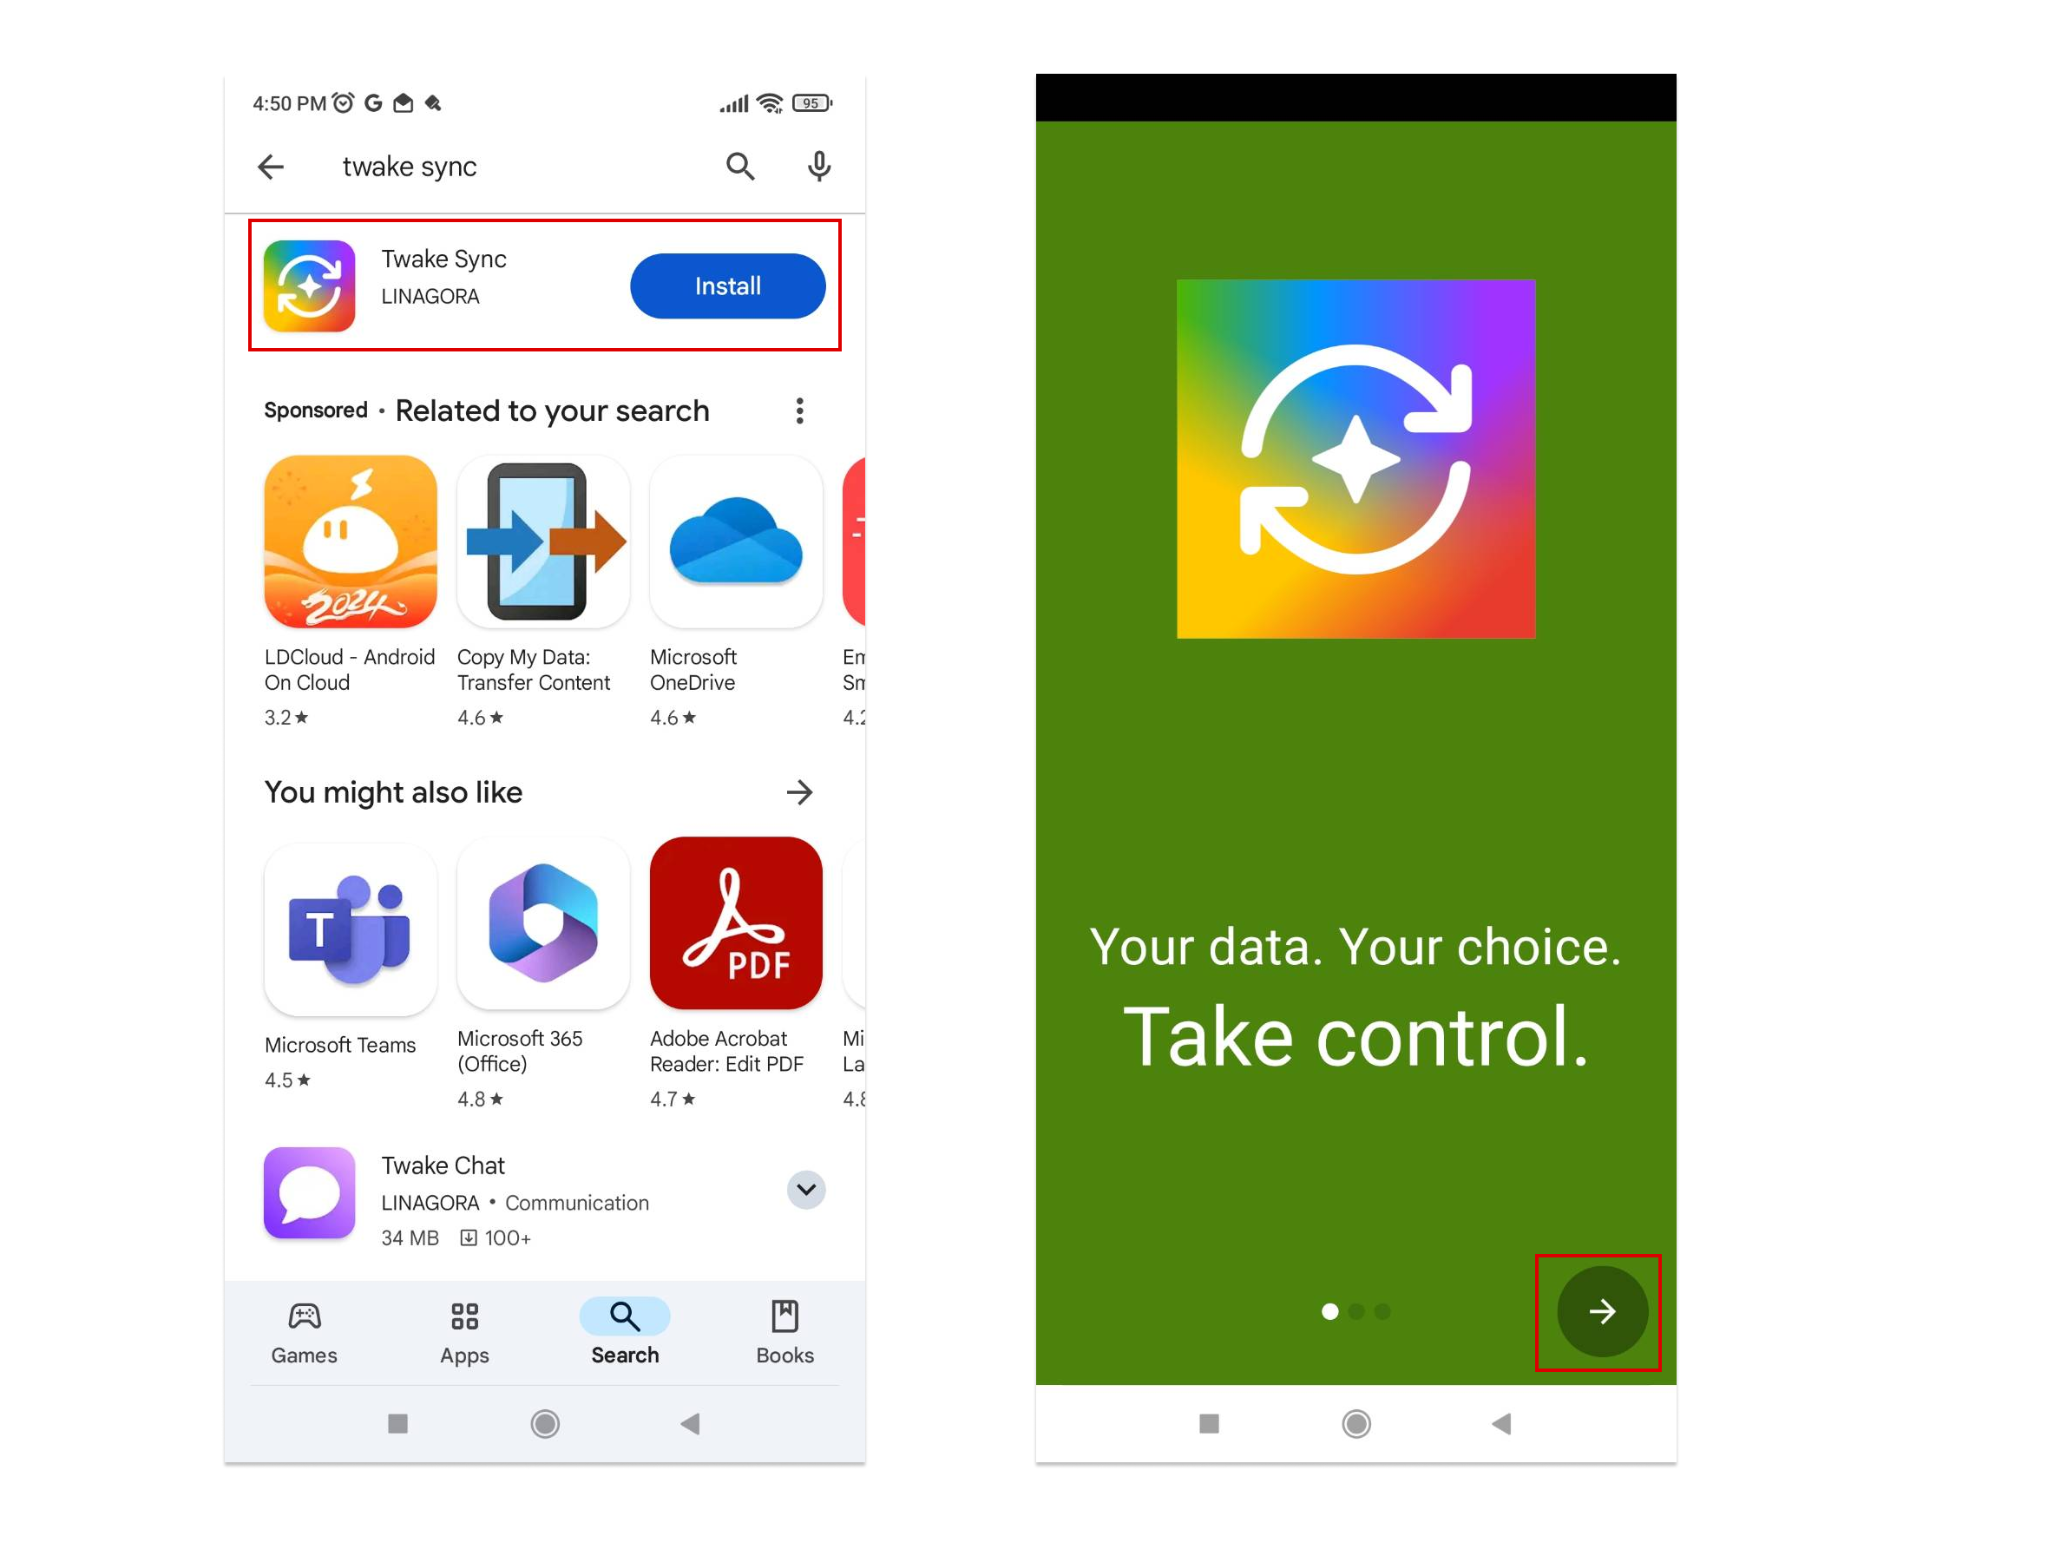
1.Install Twake Sync
Open the Google Play Store, search for Twake Sync, then download and install the app.
2. Allow access
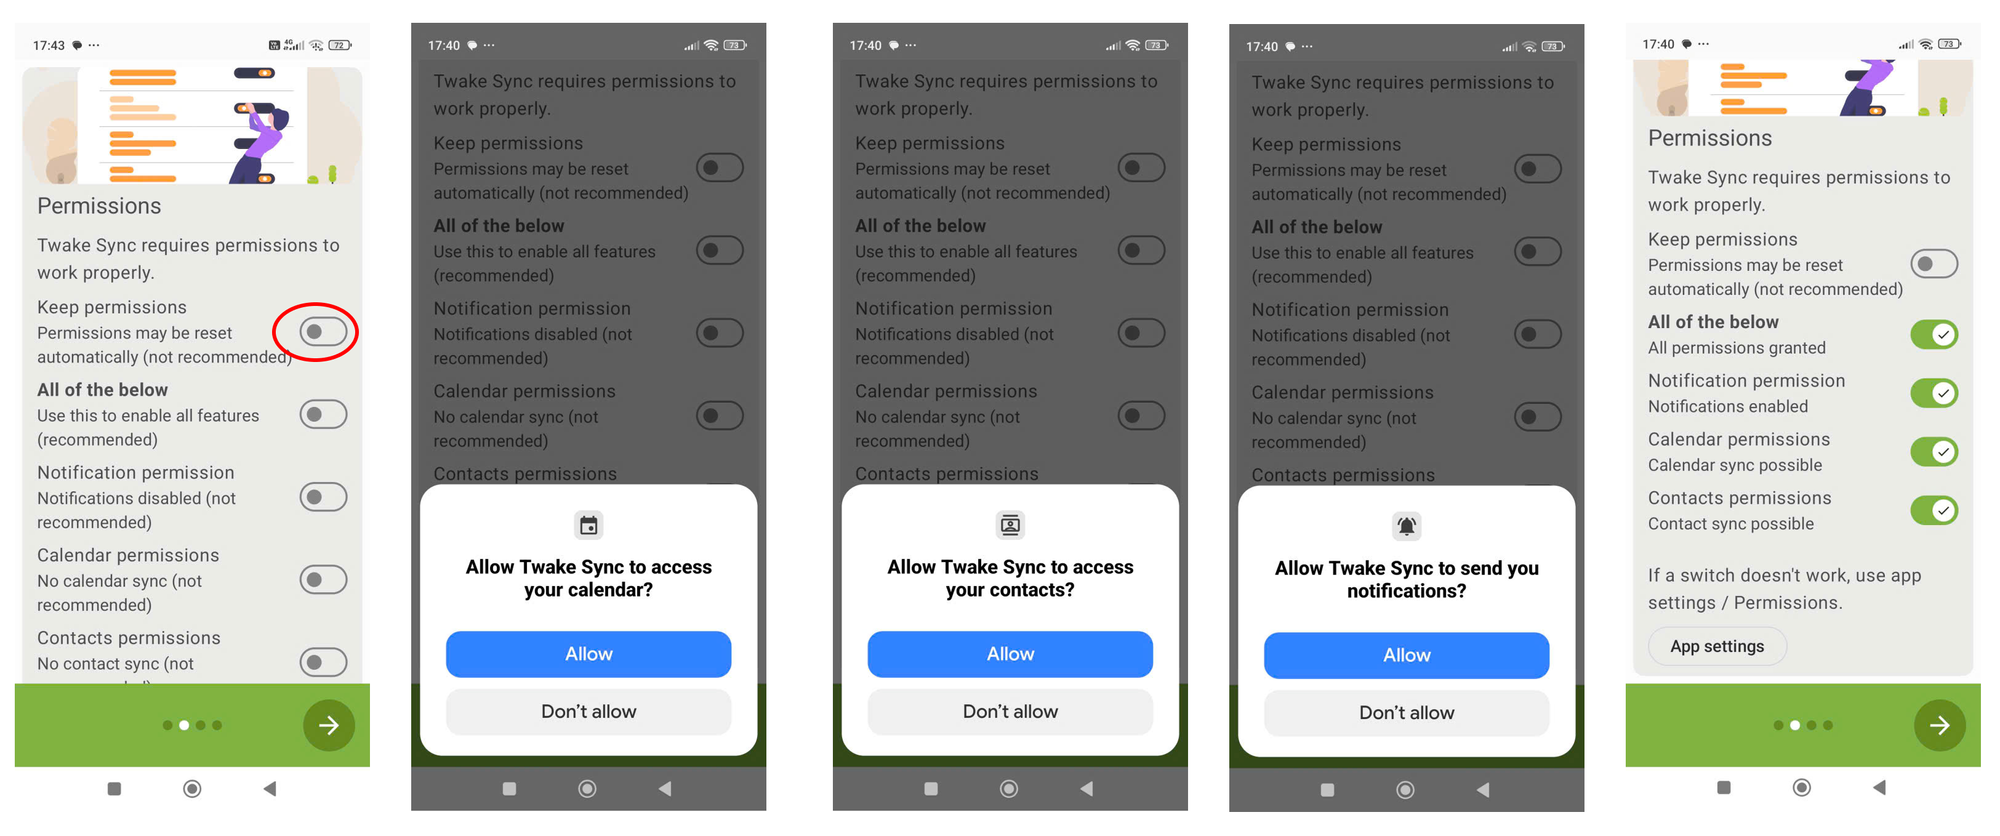
Check the “Allow All” box to allow access to the calendar and contacts. Then click the arrow to move on to the next step.
3. Enable automatic synchronization
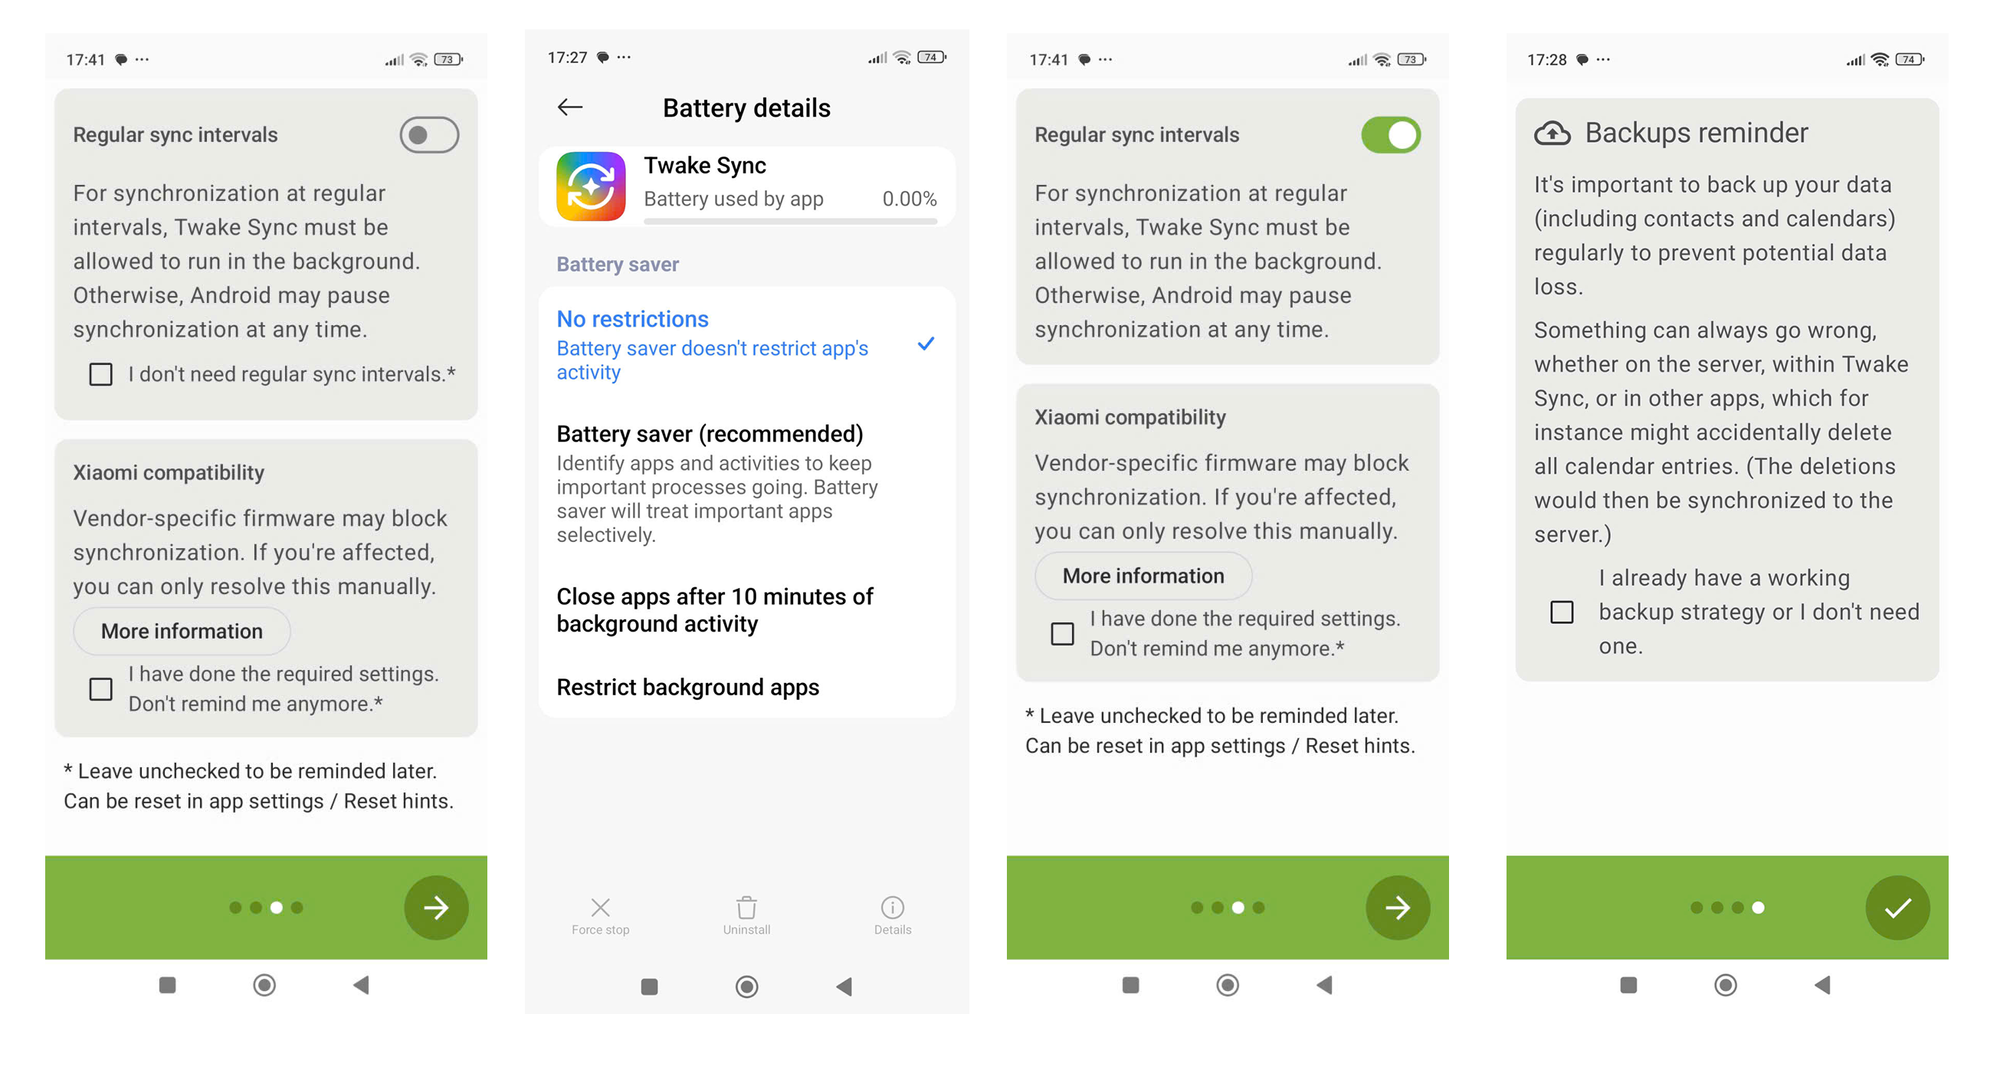
To enable periodic sync, slide the button on the right to enable the “Regular sync intervals” box. If this option is not enabled, the synchronization will be manual. You may need to allow the The Twake Sync application to run in the background without battery restriction.
Then, click on the arrow to continue to the next step.
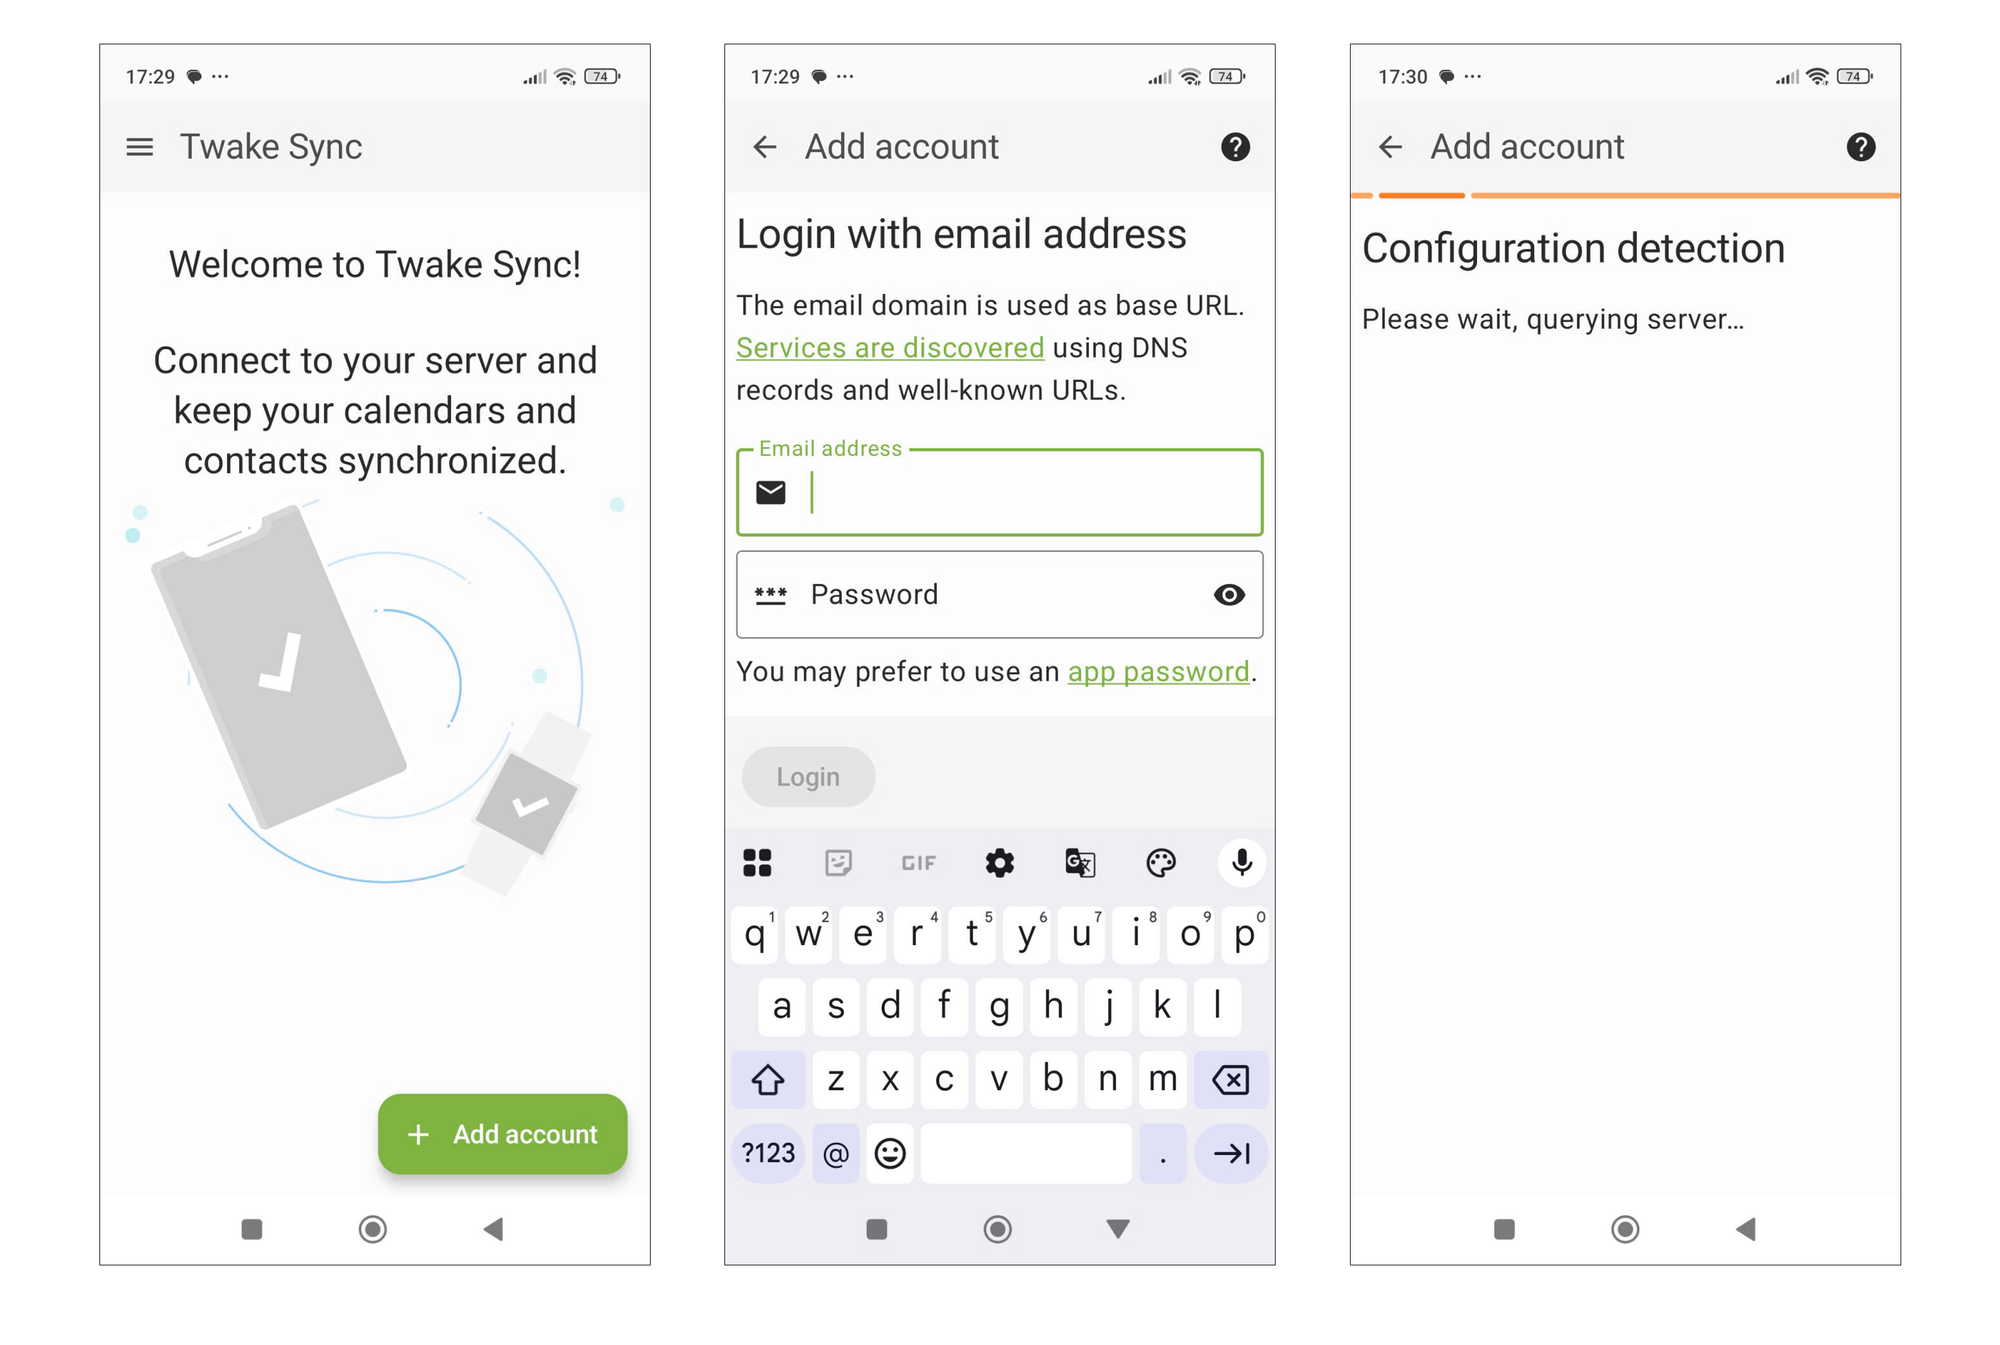
4. Add your Twake account
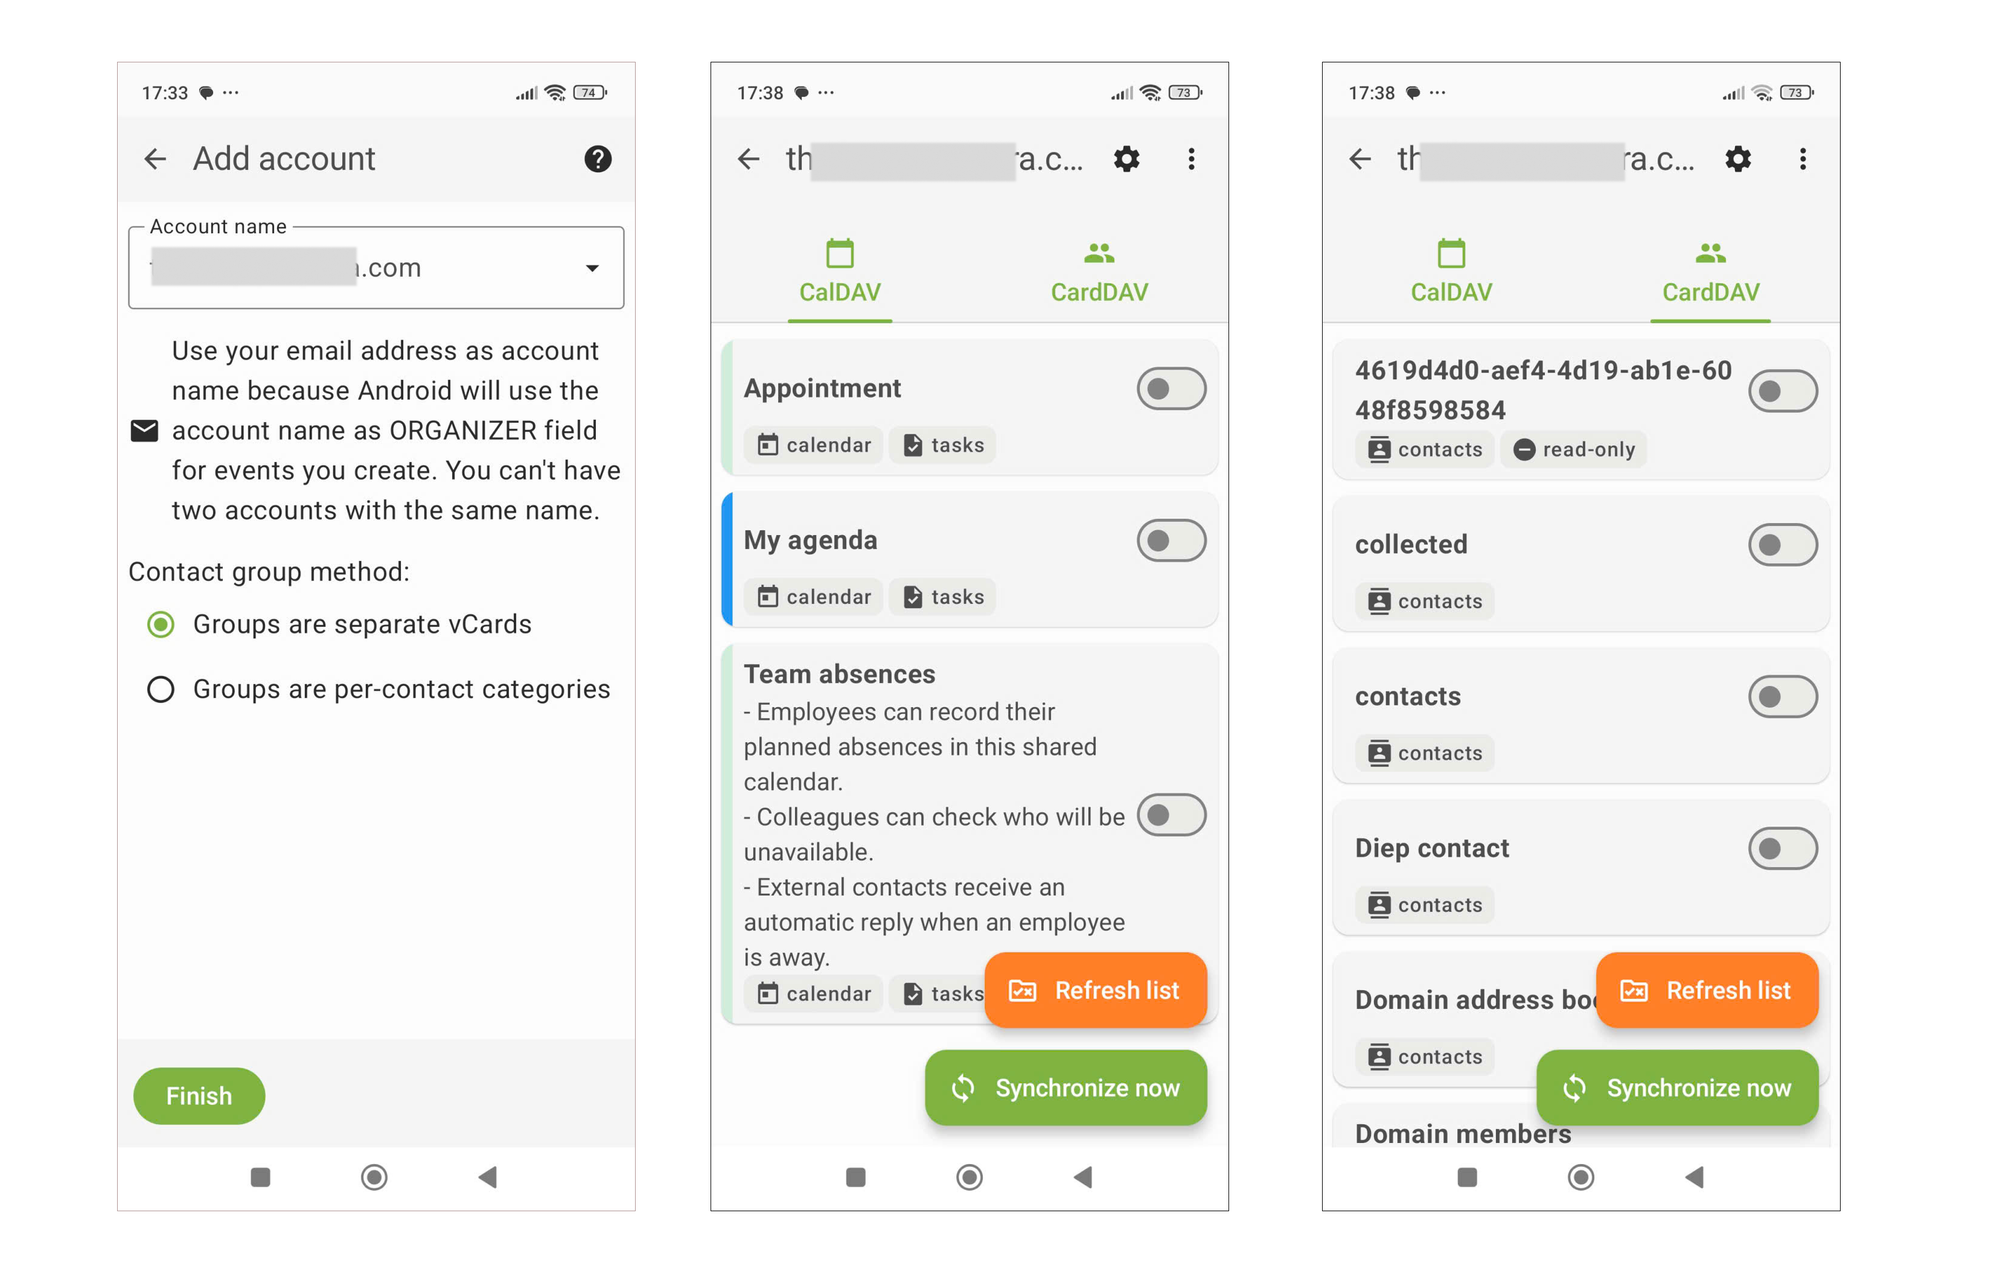
Click on the “Add account” button at the bottom of the screen to add an account. Enter your login credentials: email address and application password.
Then click on “Log in”.
- Choose one of the following options:
Choose one of the following options:
- Groups are separate vCards: Stores each contact group as a separate contact entry. This option provides better compatibility with most Android contact apps.
- Groups are per-contact categories: Adds the group information as a category to each contact. Some contact apps may not support this method.
We recommend selecting Groups are separate vCards.
Then tap Finish. Twake Sync will begin synchronizing your calendars and contacts with your Android device.